

 Partners with The Outdoor Outpost for Wild Turkey Conservation")


Many people believe that good shooters are good shooters regardless of the discipline, but that’s simply not the case. Some of the best target shooters I know are the worst shots in a hunting situation. It’s not that they can’t shoot, because the scores on their targets prove they can. It’s just that they haven’t practiced enough under hunting conditions.
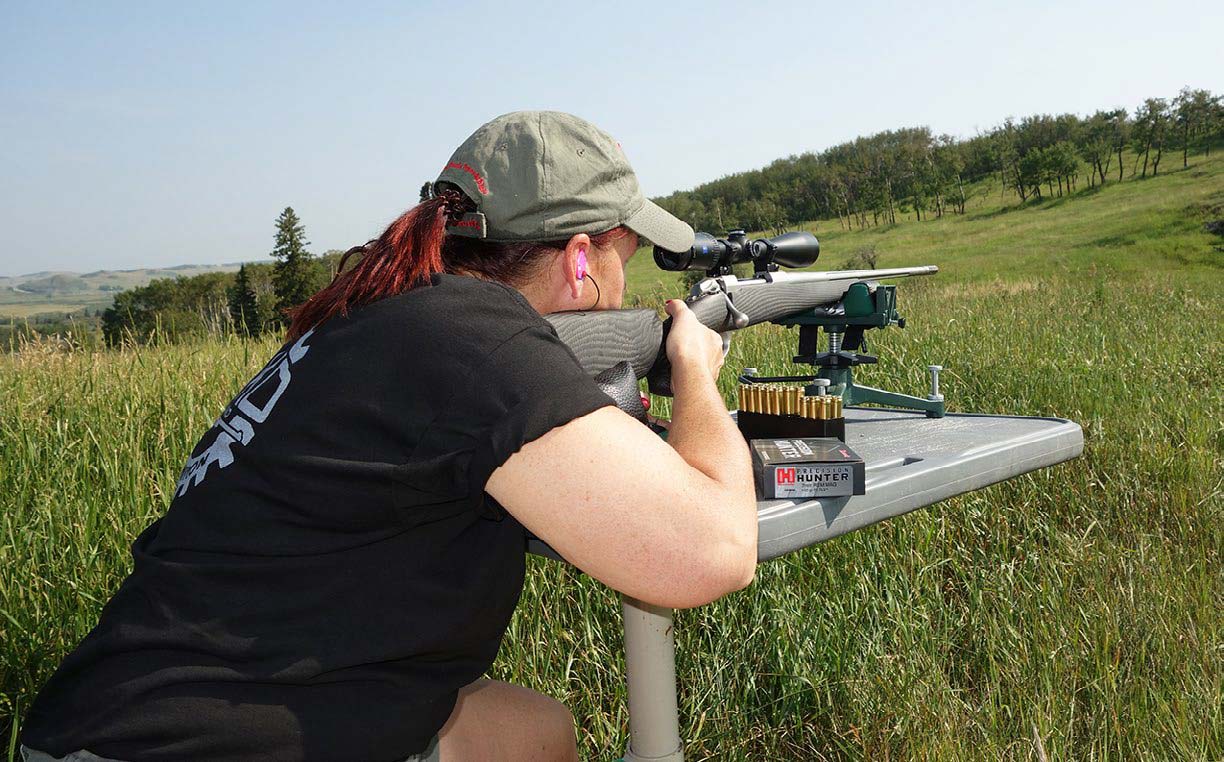
Having all the time in the world to find the X-ring on a piece of paper is much less stressful than having a big buck walk out on a cutline to offer a momentary opportunity. Most hunters spend way too much time on the bench, in my opinion. That’s a good place to sight your gun in, learn trigger control and learn to control your breathing, but people need to practice under real-world conditions.
Shooting Positions, Rests
You aren’t going to be dragging a bench around with you when you are hunting. So, the best thing to do is set up situations like those you might encounter in the field. You need to practice getting comfortable in all shooting positions with a variety of rests and off-hand.

Shooting from Bipods
A bipod is your most steady option when shooting in the prone position. For long-range shooting, it’s pretty well a must. But what often gets overlooked is a rear rest, as well.
Most of the movement when you’re shooting from a prone position comes from the rear of the rifle. Again, you won’t be packing a rear rest with you, so I usually use a rolled-up sweater or coat and slip that under the rear of the stock when hunting or practicing. By doing this, you virtually eliminate all human error. This is a valuable skill to become proficient with, and it takes practice.
Another trick to increase your accuracy when shooting off the bipod is to take your hand off the forestock, then either wrap it around your hand holding the rifle grip or place it softly against the rest supporting the rear of the stock. Bench shooters do this all the time, but it’s a lesson often forgotten in hunting situations. If you practice that way, it will become second nature in a hunting situation.
A few years ago we were hunting elk and I got on a good bull, but the closest we could get was just over 500 yards. The elk were spooked and we didn’t have much time. I quickly assumed the prone position with the front of the rifle supported by the bipod. I grabbed TJ’s jacket and rolled it up for a rear rest. There was only one hitch. My left arm was in a full cast. TJ was skeptical and asked how I felt. I had everything handled; both the front and the rear of the stock had solid rests and I had my casted arm wrapped around the heavy coat, completely out of the way. Everything was steady and solid when I squeezed off the round. The big bull soaked up the bullet, stumbled a few steps, then fell to the ground. Had I not already been well-practiced in that position, I doubt that I would have had that success.
I’m a big fan of bipods. Most rifles I shoot are equipped with a model that allows me to shoot from the prone or sitting position. I practice extensively from both positions, and while sitting is not as solid as prone, I have become comfortable to over 300 yards in this position, too.


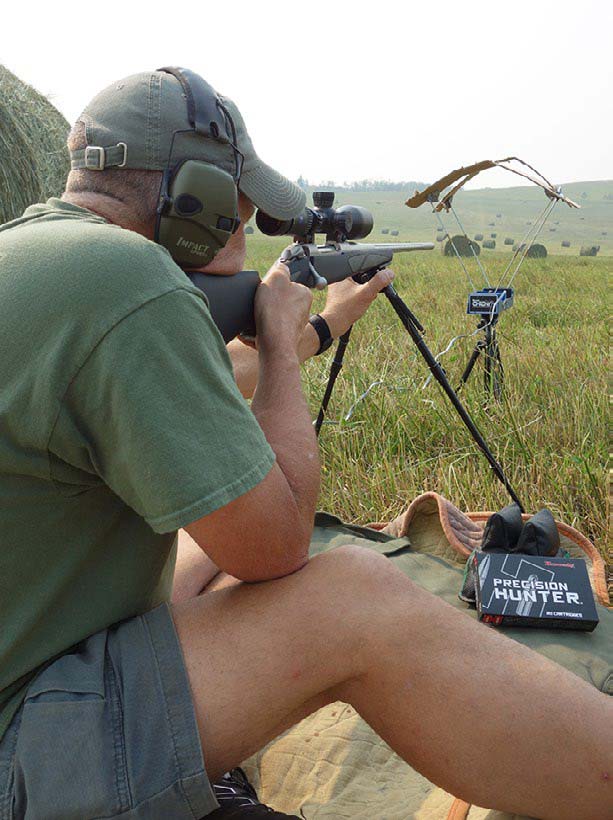
Shooting Sticks – Standing, Kneeling, Sitting
Obviously, you can’t use a bipod in all situations, especially in tall vegetation. In that case, the best option is shooting sticks. They allow you to shoot from a sitting to a standing position while still offering a relatively solid rest. At first glance, shooting sticks look like they would be easy to shoot from, but even after more than a decade of using them, I still practice often. That’s especially the case before heading to places like Africa, where they are used extensively.
One of the often-overlooked skills with shooting sticks is getting them set up quickly at the perfect height. On our first trip to Namibia, our professional hunter told us that the time from when the sticks went up until the animal spooked was approximately seven seconds. We struggled on that trip. We’d practiced a lot shooting off sticks, but we hadn’t practiced getting them to the perfect height or getting the rifle on them quickly. We didn’t make that mistake again.
Make sure to adjust the height of the shooting sticks so that your feet are flat on the ground in a comfortable shooting stance and the butt of the rifle is nestled well into your shoulder. Your knees should be slightly bent. I prefer the three-legged sticks over a monopod or two legs. Set up the sticks so that there is a leg on either side of your body and one out front. This enables you to push into the leg at the front, and there’s no interference with your stance. With lots of practice, there is no reason not to be proficient to 300 or more yards. Sticks can also be utilized in the sitting and kneeling positions, and those also should be practiced.


Backpacks, Natural Rests
As you can tell, I prefer to shoot from rests, but there will be situations where you won’t have a bipod or shooting sticks and you need to be prepared. It’s during those times that you need to get inventive. Practice off a backpack, a tree stump, a fence post, the side of a tree or anything that might assist you to have a solid rest. While this seems rudimentary, unless it’s second nature for you, this won’t come easily when the pressure is on. I know exactly how to set my backpack on the ground or how to place my hand on a tree to prepare for a shot without giving it a second thought.
Off-hand
I’ve covered a lot about rests, and I will shoot from one at every opportunity. But you also need to practice off-hand, because one day, that buck of a lifetime will suddenly appear and you’ll have nothing on which to rest your rifle. To become proficient off-hand takes hundreds, if not thousands of rounds; few ever get to the point where we should be shooting much beyond 100 yards. That may be a blow to the ego to some. But unless you can consistently hit a 10-inch circle off-hand, you shouldn’t be taking off-hand shots. If nothing else, all the off-hand practice you do lets you know your ethical range to shoot without a rest.

Rimfires: Your Friend
You do need to practice extensively with the hunting rifles you actually use, so you become intimately familiar with the scope, safety and trigger. But with higher-recoil rifles, shooting too much can cause you to develop a flinch, and that can get expensive.
A good and cheap alternative is to practice drills and shooting positions with a rimfire in between shooting your centerfires. Find a rimfire that is similar in size to your centerfire, and if you can afford it, mount a similar scope. The more that’s the same, the better. The .17HMR is an ideal choice as it allows you to practice at ranges well beyond that of a .22. We use a Tikka T1x for the bulk of our practice. It shoots well sub-MOA and with the right scope, it is very effective to 300 yards.


Reactive Targets
Forget shooting paper targets when practicing for hunting situations and don’t get too focused on the size of your groups!
You just need to ensure they are all within the kill zone, which is typically a 10-inch circle. That’s where using reactive targets is great and steel gongs are ideal. Whether you are at 100 yards or 600 yards, hearing that sweet ping of the bullet hitting the gong is such a great reward. Avoid putting an aim point on your gong as well. You want to become well-practiced at naturally finding center mass and hitting it consistently. This also aids you in learning to acquire the target quickly and firing, rather than searching for that tiny X-ring.
Weather Conditions
Don’t forget to practice shooting in all weather conditions as well, keeping in mind that you won’t be hunting in your shorts in late fall. More than likely, you will be wearing a few layers of clothing, gloves and hats. These all impact how the rifle connects with your body.

Here are some training drills you can try:
Cycle Rapidly
One mistake some people make after they take a shot is not cycling the next round quickly enough to take a follow-up shot if needed. As soon as you take the shot, your cheek weld should not break from the stock, and with one smooth motion, you should be chambering a round and reacquiring your target in your scope. It drives me crazy when people lift their heads after a shot to look. The best look you will ever get is through your scope, so practice this religiously. Another good drill is to change shooting positions between shots.
One nasty habit I had was that after taking a shot off sticks, it was as if my feet were glued to the ground, and it would take someone telling me to move after the animal. I knew I needed to break this habit before my hunt for cape buffalo in Tanzania. So, we set up a gong at 100 yards and my first shot was off the sticks. As soon as the bullet was sent on its way to the target, I’d cycle the bolt. Sometimes TJ would tell me to shoot quickly again, and other times he’d tell me to move up to about 50 yards and shoot off-hand. Not knowing what was coming next was the key to making this work. You can do the same switching between standing and prone shots or virtually any position. The key is to do it rapidly until it becomes second nature.

Speed Drills
To practice acquiring targets quickly, set up six different colored cans or plastic bottles at varying distances and heights. Then, standing with the gun at the low-ready, have a friend call out a certain color and start the countdown. You have to find the can, shoulder the rifle and make the hit.
This should be practiced from all positions with a variety of shooting rests. Not only does this help you with target acquisition, but it also helps you make split-second decisions as to what the best shooting position is to hit the can. Then, shoot the four remaining targets as your partner calls out the remaining colors. Track your progress with this drill to see how your times decrease.


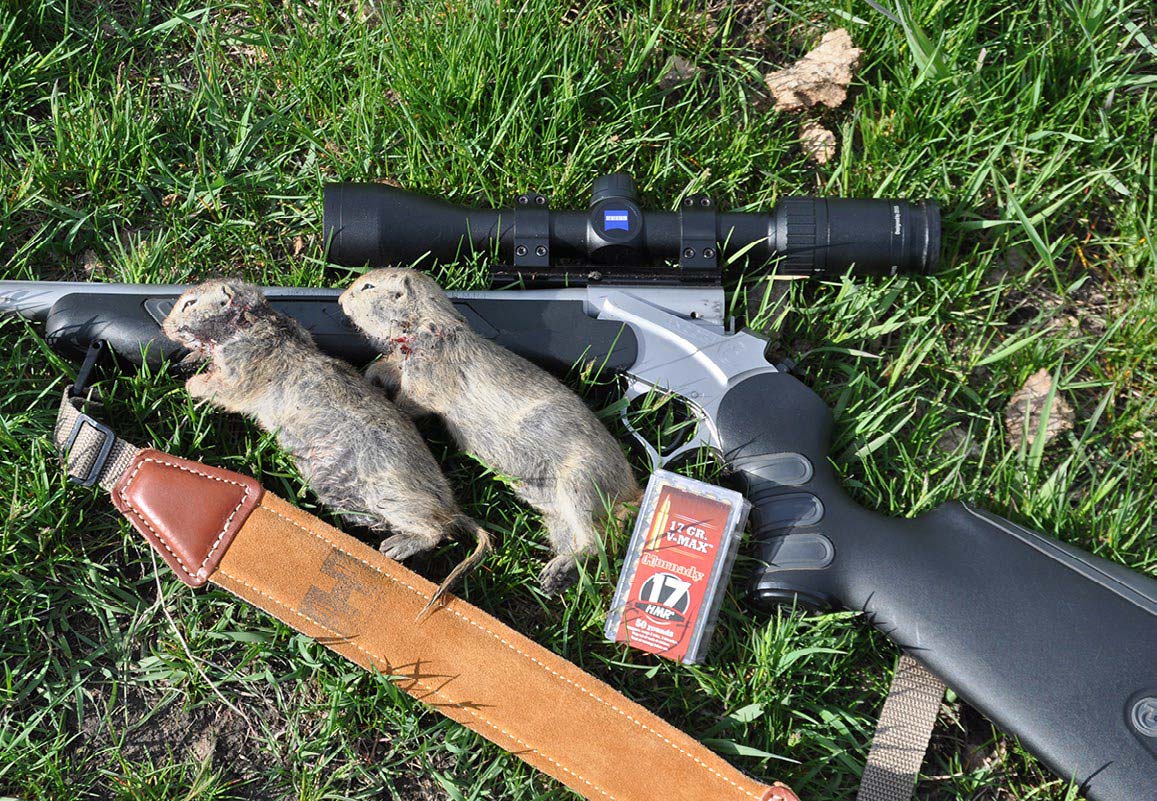
Gopher Season!
Nothing beats practice at live targets. Gophers, or ground squirrels as they are more properly known, make ideal quarry for off-season practice. Again, practice shooting at them from all positions with all rests. Sure, you likely could hit every one you shoot at off of the bipod, but that’s not the point of the drill. Shooting gophers really helps improve your spotting, ranging, shooting and target acquisition skills, since these are a very small target.
We like to head out with our 17HMR and have a set pattern of shooting positions we will go through. Track your percentage of hits from day to day. It will quickly become apparent at which shooting positions you’re the weakest, then you can concentrate more on those.
If you are preparing for a particular hunt, concentrate on those shooting positions exclusively. Before we go to Africa, we’ll shoot several thousand rounds of sticks at gophers, remembering the seven-second window of opportunity. Once you are proficient at shooting these tiny targets, a big game animal at 200 yards will seem like a walk in the park.

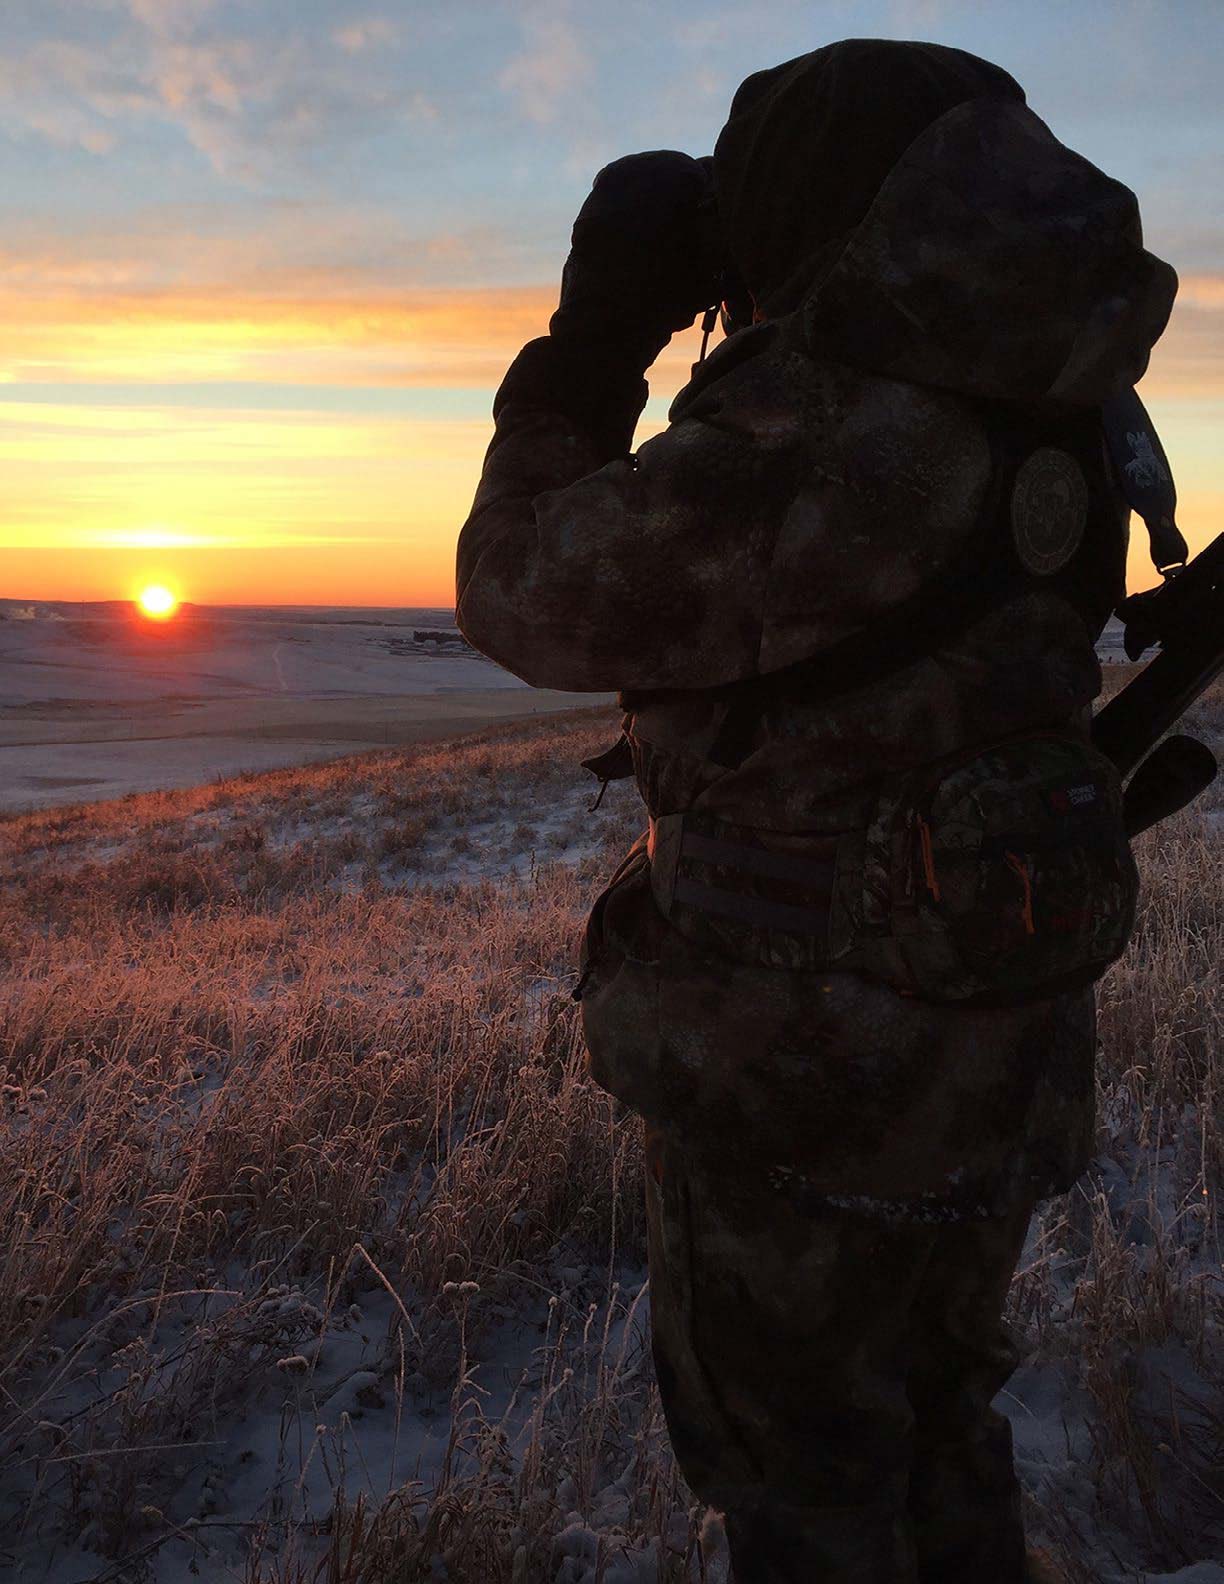
Mental Exercises
Good hunters not only understand their quarry, are great stalkers and are well-practiced with their firearms, but they are also constantly aware of their surroundings. That includes where they will take their next shot if an opportunity suddenly presents itself.
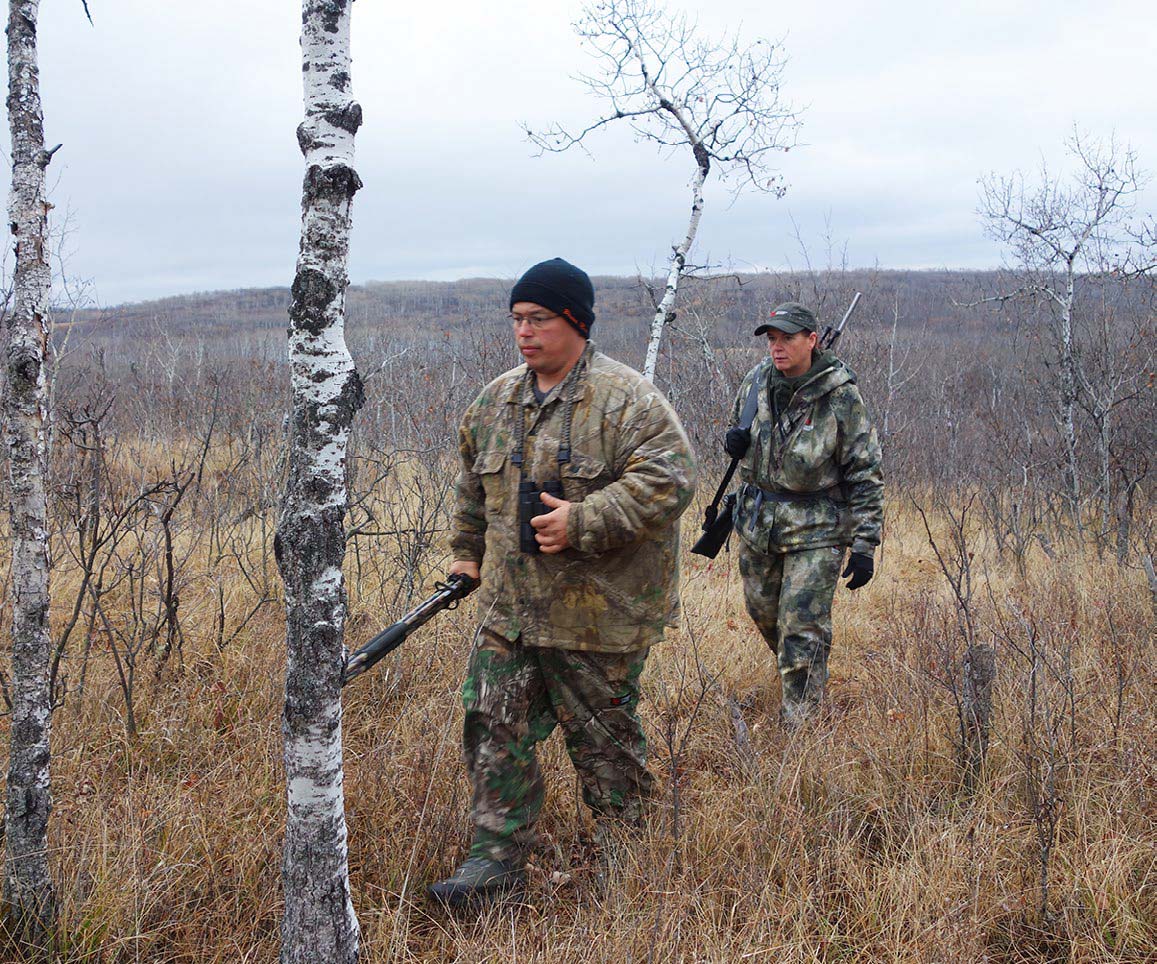
A good drill to go through with a partner along is to go for a walk through a typical hunting area. The partner will then occasionally call out that he sees an animal in a certain place, and you must react by preparing for the shot. If you are set up quickly, you did your job right. If you aren’t, analyze why and what you could have done better. Always be looking for your next rest, your next flat spot to shoot prone or for an opening that will offer a shot.
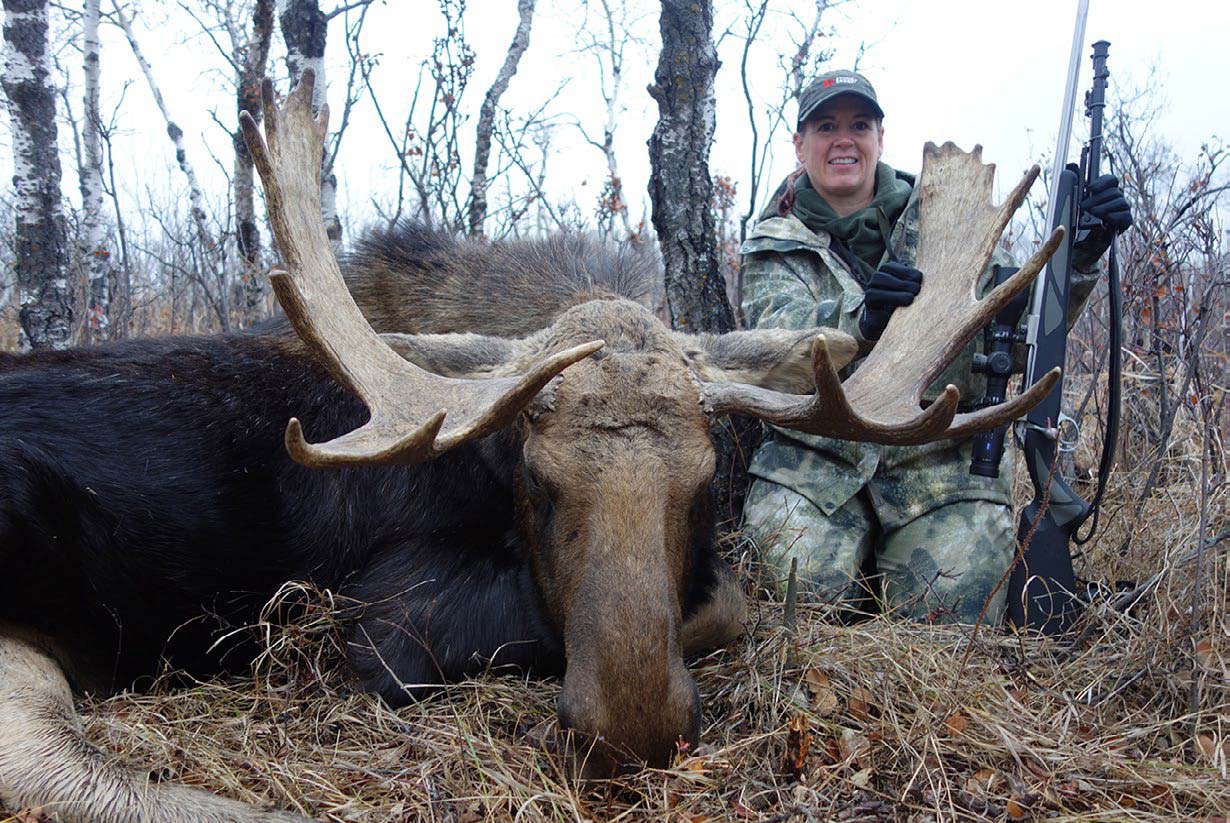
Last season, I was hunting moose in Alberta. We had spent the morning tracking a beautiful bull and had lost him in some thick cover. By the time we spotted him again, he was running. We’d just passed an opening that I’d taken mental note of; I set up the sticks with my 300WM Finnlight pointed toward the opening, not the moose. As planned, the moose ran into the opening and paused. There was no time to range him, but I guessed 200 yards and later we determined he was at 224 yards. I wasted no time squeezing the trigger and sending that 200-grain bullet to its destination. He humped up and the sweet sound of the impact thump filled our ears.
If I hadn’t spent the time practicing all the various real-life scenarios earlier in the year, I doubt that I would have been as efficient and confident. Having familiarity with your gear, so you can adapt to any conditions quickly and efficiently in order to place the perfect shot, only comes with practical practice.


 in a Super Black Eagle 3")