

")


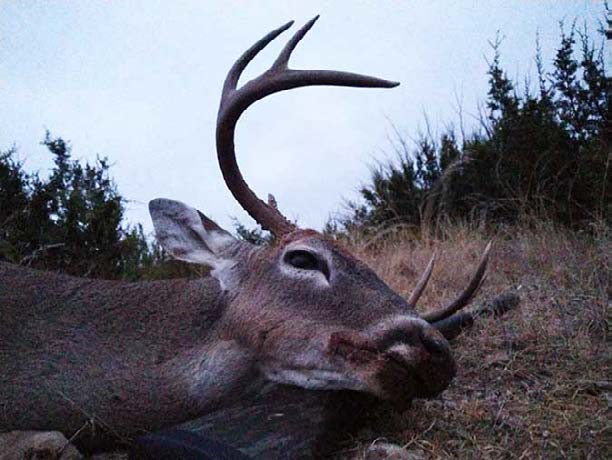
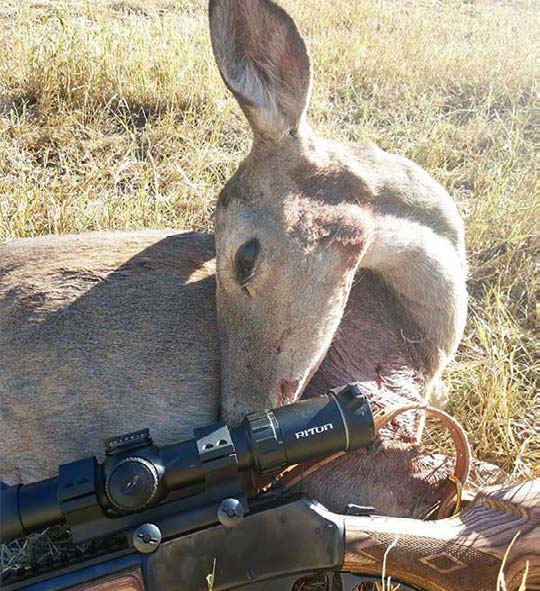
The air is crisp, if not downright chilly, and the sky promises an early snowfall. You’ve been sitting in your ground blind waiting for deer, and finally, one appears. Said deer is now on the ground, and you’re about to field dress it.
Then what? Drop it off at a meat processor? Hang it in a cooling shed? Delegate the task to a friend you believe knows what they’re doing?
There’s no reason you can’t learn to process your own venison. Help can be nice, but it isn’t a must. Here are some tips and tricks for making the coming deer season a truly self-sufficient one.


Needed Processing Items
Yes, you do need a few specific items to go about processing your own deer meat. Of course, if you’re cool with roasts and steaks, the big items—like a grinder—can technically be skipped. You don’t really want to miss out on ground meat, though. Here are the basic things you need to process a deer:
- Sharp knives
- Blade sharpener
- Cut-resistant gloves
- Several large bowls
- Ziploc bags
- Foodsaver or an equivalent vacuum sealer
- Foodsaver bags
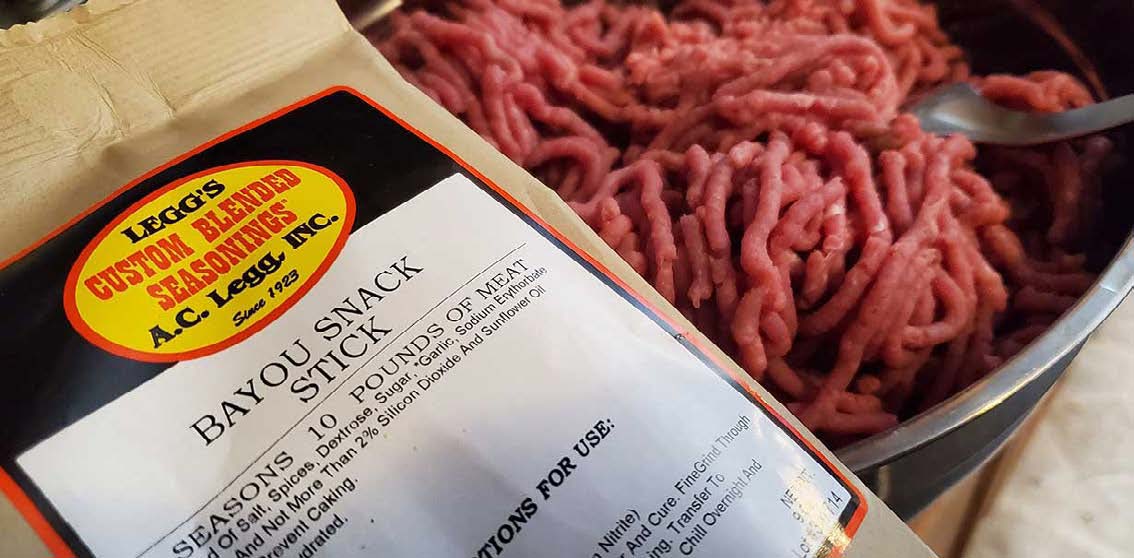
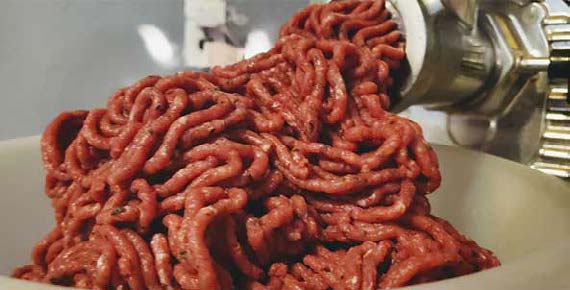
- Meat grinder (whether hand-operated, electric, or KitchenAid mixer-mounted)
- Preferred seasonings or fresh herbs and spices

Getting Meat Ready
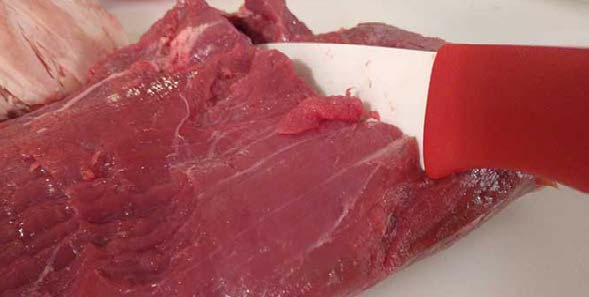
Knowing where the muscle groups are on a deer is helpful for undertaking the processing. Many, if not most areas can be figured out visually if you follow the separation between different sections. Those lines of delineation are created by membranes that naturally follow specific paths. Cutting by group along those paths tends to be easier, and it also gives you the opportunity to keep certain cuts for roasts, instead of being forced to grind it all up. This is a time when technology is your friend because there are countless videos and tutorials available online that will show you how to break down a deer, step by step.
Everyone has to learn at some time, so don’t stress over imperfect or otherwise messy cuts. The goal is to get as much meat as possible off the deer—waste not, want not—and any scraps and small chunks can be turned into ground venison. Ground venison can, in turn, become sausage, beef jerky or seasoned or unseasoned packets for later use for meatballs or lasagna, among other things.

What Are the Cuts of Meat?
Generally speaking, the common cuts of deer—which translates to the way you break the deer down for processing—are, nose to tail:
- Neck roast or for grinding
- Shoulders (chuck roast, mock tenderloin, shanks, )
- Backstraps
- Ribs, either intact or by removing sections of meat for grinding
- Tenderloin
- Haunches (round roast, sirloin, shanks, )
Cuts based on personal preference:
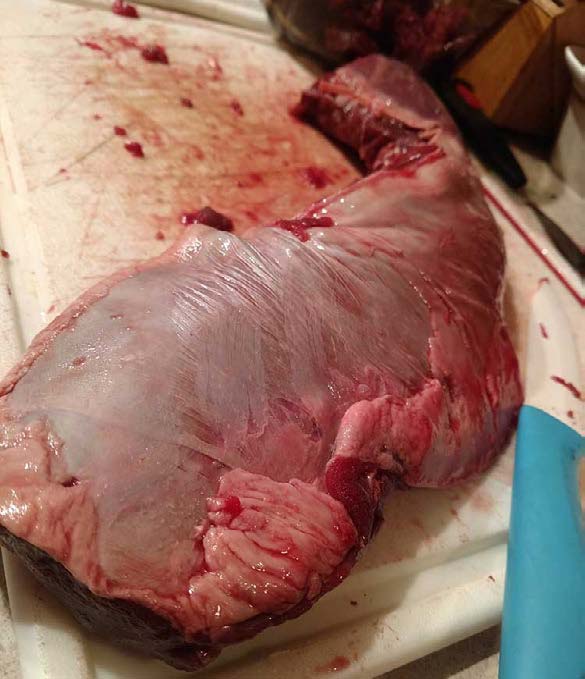
- Heart
- Liver
- Tongue

How Do You Prepare Meat for Storage?
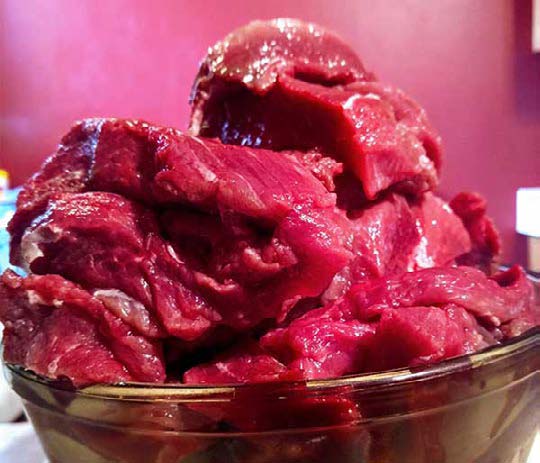
Before you store your venison, it needs to be cleaned. The fat and silver on deer meat is where the gamey or otherwise unpleasant taste or texture tends to come from, meaning it’s important to cut all this off. On backstraps, this is a visible white membrane that can be sliced off with a thin, sharp knife. Other cuts of meat have varying degrees of silver and fat to remove. What you need to remember is that the more time you spend cleaning the cuts of meat now, the better it will taste later. It’s worth the effort.
Some hunters are more precise than others when it comes to cleaning up cuts or chunks of meat they intend to throw in the grinder. This is partially due to experience, but also based on personal tastes. Although you don’t want to be wasteful, it’s wise to err on the side of cleaner cuts than fattier ones.
Fatty scraps can also be saved, ground up, and baked in sheets for dog treats. Try not to go overboard in feeding your dogs the finished, baked treats in large amounts at one time, due to their fat content. But every so often, they’re a great idea for your canine companion.

How Do You Store Deer Meat?
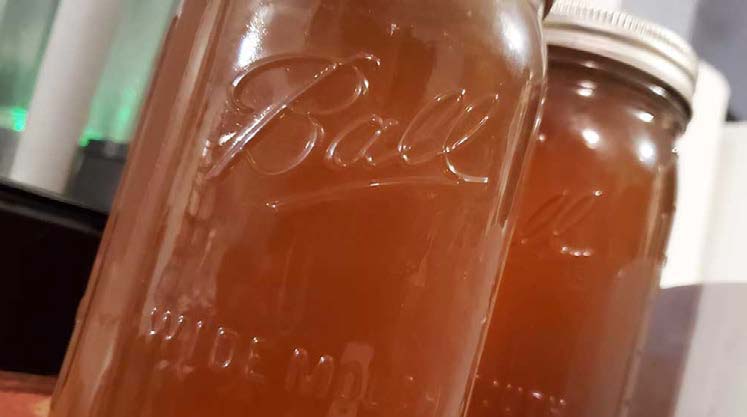
There are three basic ways you can store your meat, and each has different benefits. These are: refrigerator, freezer or canned in glass jars. If you’re making beef jerky, you can use a vacuum sealer to make the meat shelf- stable for a while.
If your meat is in the refrigerator, the timeframe in which it must be used is a lot briefer than it is for other storage methods. Freezing—deep freezers are best, but your fridge freezer works—extends that time enormously. Canning, which is typically done using a pressure canner, is a fantastic way to create a shelf-stable food that lasts for years with no requirement for refrigeration.
Regardless of where you store deer meat, what counts is the effort you put into the bags you put the meat into. Technically, you can use Ziploc bags, but if you use plastic bags that simply “zip” closed at the top, your meat won’t last long. Even frozen meat is going to get freezer burned and wasted as time goes by.

Conversely, if you invest in a vacuum sealer, you extend the good taste and overall life of your meat exponentially. There are now enough different sealers on the market that they range from affordably priced to fancier (but still relatively affordable) ones, and there are various brands of bags as well. Please, vacuum seal your meat. It’s well worth doing.
A word on canning. The quality of jars has changed recently, making it more important than ever before to check out jars for cracks or weak spots prior to using them. Lids are a significant issue. Canners have gone from having zero failures to several per batch. Because of that, it’s a good idea to have extra flats—or entire lid sets of flats and rings—in case your seals fail. Sometimes re-processing works, but often it’s a matter of needing to replace the flat portion of the lid. Canning is an excellent way to store meat for later use whether you do burritos in a jar or ready-made stews.

Process Your Own Deer?
There are several reasons why you should consider learning to process your own venison. For one thing, a lot of processors don’t actually process and return your own deer but, instead, work from a communal pile of meat. It’s faster and easier for them, which is certainly logical. However, it means that your gorgeous meat doe could come back to you as a gamey buck that ran quite a ways before dying. Before using a processor, find out exactly what meat you get back.
If you do it yourself, you can take the time to cut off every scrap of meat. Even after you remove the legs and backstraps, there is still significant meat left behind. It’s not that heavy a lift to take time to cut off scraps and chunks of meat that remain. It could add ten or more pounds of ground meat to your pile, depending on the deer and how meticulous you are. Being self-sufficient tends to mean you get more out of your animals.
And, of course, processing meat yourself teaches you more about the cuts of meat while also saving money.

There’s a certain satisfaction in seeing a hunt through from zeroing your rifle to stacking sealed packages of meat in your deep freezer or in jars on your shelves. Sure, it takes work, but the end results make it so worth the time and effort.
Deer hunting is an awesome way to spend time in the woods while filling your pantry and freezer. See it through from the first to the last step. We promise you won’t regret it.
If you have kids, get them involved in processing. When they’re old enough to safely use a knife, they can be taught to cut—slowly—until they get the hang of it. Little ones unable to wield a blade often enjoy simply watching and listening to you explain as you go. And when the meat is cleaned up and ready to process further, your kids will love helping season and package it.
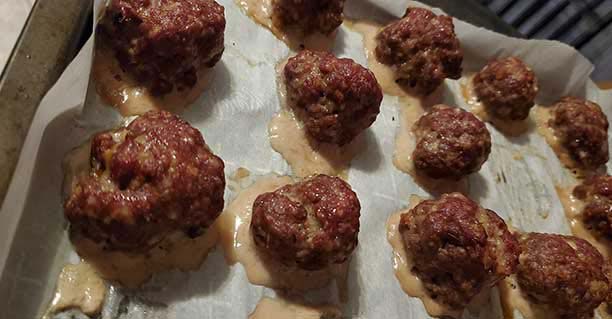
My 8-year-old bonus son, Ethan, loves hunting, but he loves the meat even more. His favorite thing to make using venison is meatballs. And yes, he does participate fully in everything, from deer down to rolling meatballs. Here’s a recipe.

Ethan’s Cool Venison Meatballs
- 1 pound ground, unseasoned venison
- ½ pound ground, unseasoned or Italian seasoned pork (feral or store-bought)
- 1 white onion, diced
- 6 cloves garlic, minced (a fantastic time to use habanero or other pickled garlics)
- 2 eggs
- 1 cup unseasoned bread crumbs or Panko
- 3 Tablespoons raw milk
- 1 teaspoon black pepper
- 2 teaspoon fresh parsley, minced
- 1 teaspoon fresh oregano, minced
- 1 teaspoon fresh thyme, minced\
- 4 Tablespoons grated parmesan
- 1 Tablespoon Worcestershire sauce
Bonus: Add ¼ cup finely diced, cooked bacon.
Oven: 400 degrees for 15-20 minutes on a parchment paper-lined baking sheet.
Smoker: 180 degrees for 20 minutes on a parchment paper-lined baking sheet, then 350 degrees for approximately 10 minutes directly on a grill. You can leave the meatballs on the sheet if preferred. (Slow smoke: 180 degrees for 30 minutes, then 225 degrees for one hour.)
Air fryer: 400 degrees for 10-12 minutes in a single layer.
Sous vide: 140 degrees for 90 minutes, bagged 4 per quart bag. Remove from bags and sear in cast iron skillet.


