

 in a Super Black Eagle 3")


A budget-friendly riflescope that will work at close and far ranges is the Sightmark Presidio 3-18×50 MR2. It has an illuminated etched glass reticle and open-style turrets with zero stop. We recommend giving it a try! The optic you top your rifle with matters. During my 30-plus hunting years, I’ve seen more rifle-mounted optic fails than you can imagine. Some wounds were self-inflicted. Too little or too much torque on the bases, rings, or both can lead to shot-to-shot inconsistencies. Most often, though, the scope was faulty. While optical clarity and magnification weren’t typically an issue, durability was. A ride in a scabbard attached to a saddle or backpack-mounted rifle tote system and some hard miles would shift zero. I have no tolerance for a rifle scope that won’t hold zero. My first-ever Sightmark test was the Wraith 4K Mini 4-32×32 Digital Day/Night Riflescope, which proved a winner. For this reason, I was excited to try the manufacturer’s Presido 3-18×50 MR2 scope.
First Impressions – Sightmark Presidio
I always do my homework before receiving and testing any new product. So, I spent time on Sightmark’s website, looking the scope over and reading about its technologies. Jumping at me from the get-go was the price. You don’t get many open turret (windage and elevation), zero stop, and high-magnification scopes for under $400. The Presidio 3-18×50 MR2 comes in at $399.97. Impressive, but would the lower price point lead to problems? Read on.
The scope is heavy. That’s not a deal breaker, but this is an honest review, not a glorified press release. Based on its price point, I expected the scope to have some weight.

I appreciate the easy diopter adjustment ring located behind the ocular lens. Diopter measures the eye’s curvature; all eyes are different. By turning the eyepiece, you can focus the reticle on your vision.
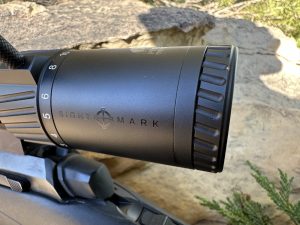
Moving forward, the scope will be the variable power adjustment wheel. Sightmark provides a quick-throw lever, easily added by threading the post into the hole in the wheel. This lever allows for rapid magnification adjustment and makes the process easier. You never have to look down at your wheel when you have an easy-to-access lever.
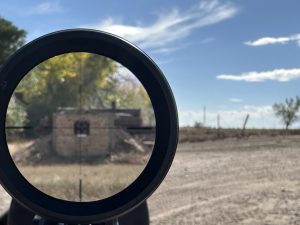
The scope has variable 3-18 magnification adjustment, meaning it will work for close, medium, and long-range shots. A quick look through the first-focal plane reticle while working the variable power wheel proved that the optical clarity was generally clear. More to come on this.
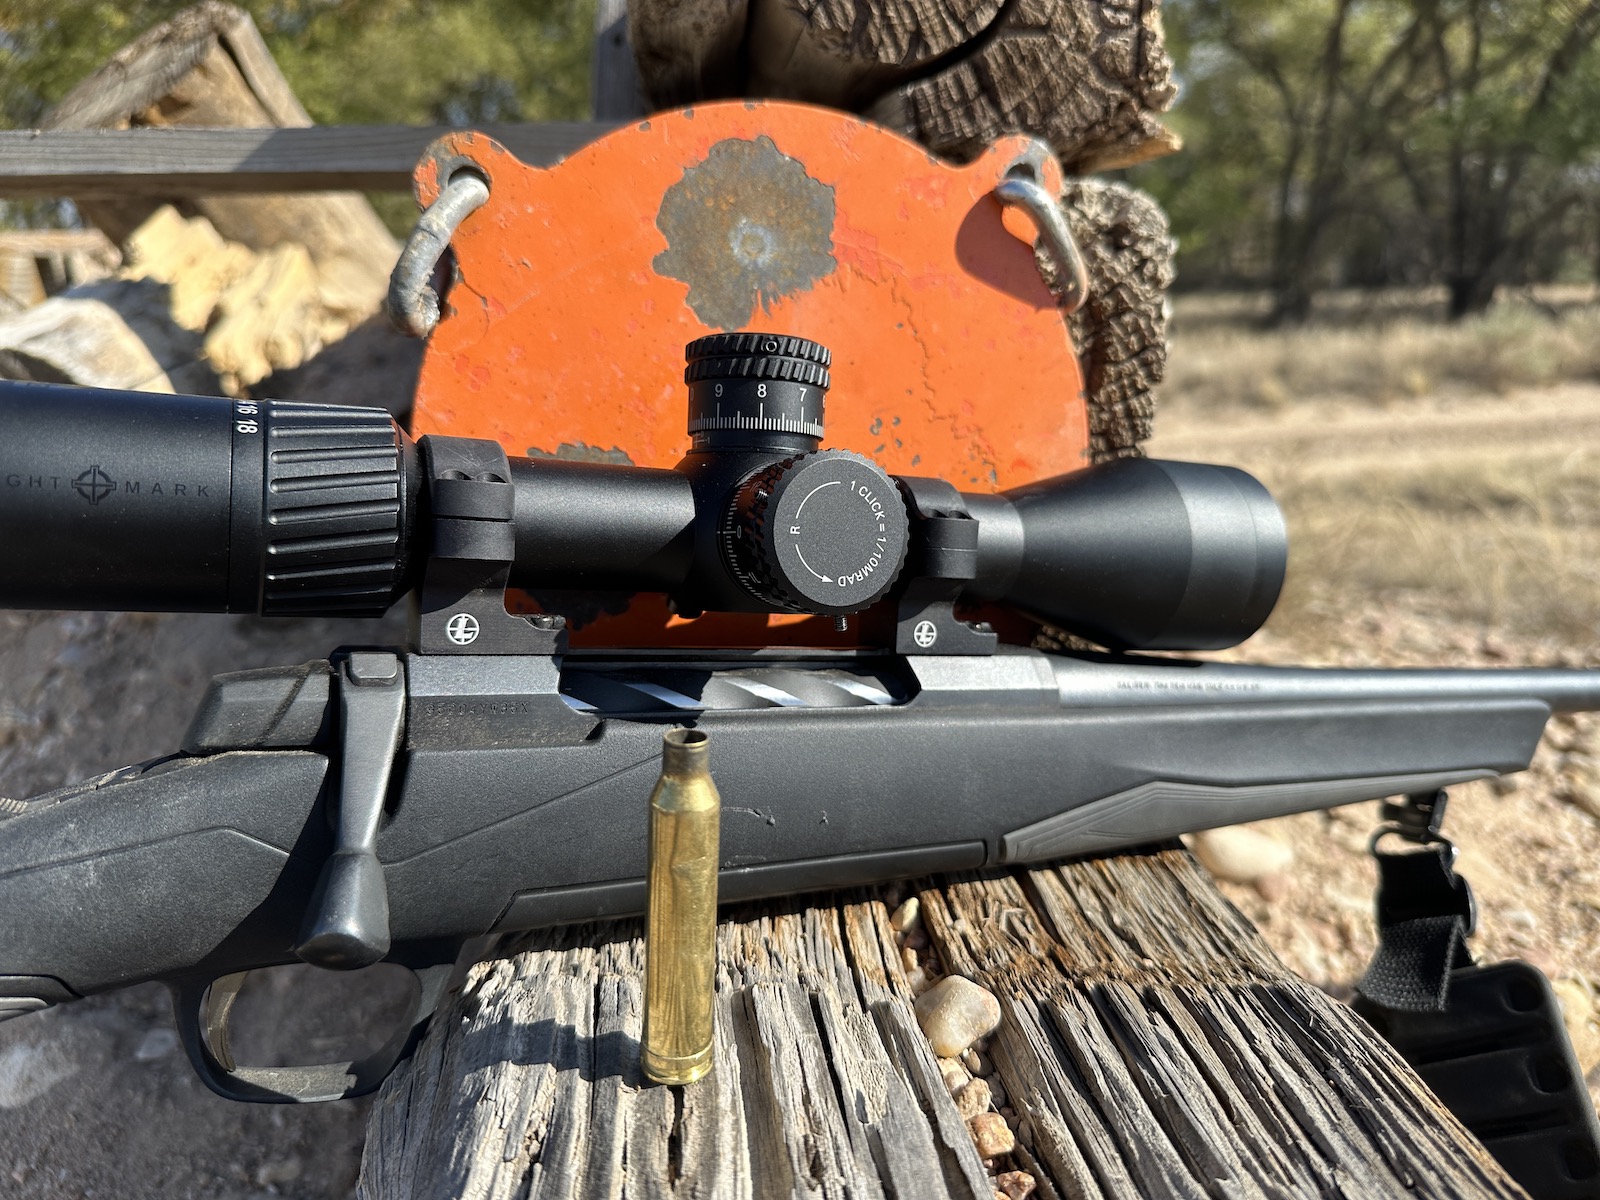
Both the windage and elevation turrets are open. This means you don’t have to remove a cover to adjust windage and elevation. Adjustments are “click” style, and I appreciate that I can hear and feel the single clicks when I turn either turret. The turrets have no slop, and adjustments seemed precise.
Each click equals 1/10 MRAD. MRAD is the standard for military and law enforcement riflescopes. Don’t let it confuse you. Each click on an MRAD scope equals 1/10 milliradian, about .36 inches at 100 yards.
The Presidio 3-18×50 MR2’s reticle is the first focal plane, which grows along with the image as magnification increases. The LR2 Reticle can be used to range targets at any magnification. Sightmark’s User Manual does an excellent job explaining how to use LR2 ranging formulas. I also appreciate the numerous elevation and windage holdovers in the etched glass reticle. Once you master your bullet’s ballistic performance and drop numbers in mils rather than MOA, the reticle design allows for elevation and windage without adjusting to either turret.
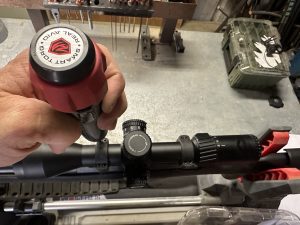
The reticle is also illuminated, which helps with accuracy in low-light situations. The battery compartment is accessed by unscrewing the battery cap located on the illumination dial. The User Manual says to use a coin or a flathead screwdriver, but I had to resort to a pair of pliers. Battery insertion, at least in the tested model, was difficult. Once inserted, six brightness settings are at your fingertips. The illumination wheel is smooth, and the red LED contrasts against targets in low-light shooting situations.
Features – Sightmark Presidio
- 6:1 zoom ration
- Capped, tactile, low-profile turrets
- First focal plane reticle
- Red illuminated reticle
- Aircraft-grade aluminum
- IP67-rated dustproof and waterproof
- Shockproof
- Single-piece 30mm Tube
- Hard, anodized finish
- Fully multi-coated optics
- 3-18x magnification
Specs
- Reticle type: MR2
- Reticle color: Red
- Reticle brightness settings: 0-6
- Objective lens diameter (mm): 50
- Reticle: Etched glass
- Illuminated: yes
- Magnification: 3-18
- Eyepiece diameter (in/mm): 1.73 in./44mm
Mount Up
I attached the Presidio 3-18×50 scope to Browning’s X-Bolt 2 Hunter Composite chambered in 7mm Rem. Mag. Mounting the scope is straightforward. I used Real Avid’s Master Gun WorkStation and Scope Mounting Kit to simplify the process and ensure the scope was level.
Real Avid recommends setting the scope to its highest magnification and moving the riflescope as far forward in the rings as possible. With the scope forward in the rings and magnification maximized, move the scope closer to your eye until you have a full field of view. There are many ways to set proper eye relief, but this one is hard to beat.
Be sure to use a torque driver and tighten rings and bases to the exact recommended settings.
Bore Sighting
There’s more than one way to skin a cat, and every shooter seems to have a preferred way to bore sight a rifle. If it’s found, I try to follow the manufacturer’s ink in the User Guide for bore sighting. Sightmark’s bore sight advice is standard. With a rifle in a steady position, remove the bolt. Next, look down the bore with your eye and line up the center of the target’s bull’s eye with the center of the bore. Long-range bore sighting is difficult. I recommend bore sighting at 50 yards.
With the center of the bore on the bull’s eye, look through the scope and walk in your windage and elevation one click at a time until your crosshairs sit on the center of the bull’s eye.
After following this process, my first shot off a bench at 100 yards missed the center bull’s eye 3.5 inches high and 4 inches left. Any bore-sight mission aims to get the rifle on paper with a single shot. Mission accomplished!
Finding Zero
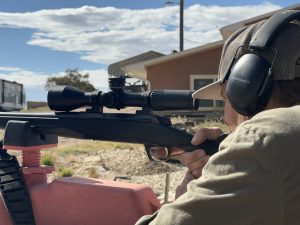
Sighting in the scope is a breeze. From 100 yards, it took me two shots after bore-sighting to hit the center bull’s eye on my Hornady target. After letting the barrel cool, I shot a three-shot group off the bench from 100 yards. This is a one-inch gun, and the rifle, paired with the scope and 160-grain Nosler Partition Trophy Grade ammo, proved difficult to beat.
NOTE: A zero of 200 yards is often preferred if long-range shooting is in the forecast.
Setting the scope’s zero stop is easy. The one downfall of open turrets is that if they don’t lock down, there is no cap to protect movement. I’ve seen this happen twice, and it’s not something you want to experience.
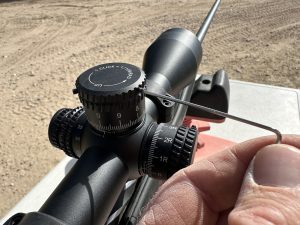
First, set the zero stop for elevation with the riflescope zeroed at the distance you want. Use the included Allen wrench to loosen the three hex-key screws located on the top of the elevation turret. Next, lift the cap straight up to remove it. Before removing the elevation cap, you must not turn your elevation turret back to zero. Pull it straight up and off. Now loosen the three hex screws on the zero-stop mechanism and rotate it to the desired zero position. Reinstall the elevation turret cap so that the 0 is aligned with the line indicator on the riflescope.
Setting zero stop on the windage dial is also possible. Follow the same steps, but you’ll need to add the included zero-stop ring.
Stretch It Out
Ammo is expensive, but I put 25 Partition Tropy Grades through the X-Bolt 2. The User Manual, along with time on the bench, allowed me to build a dope card to 600 yards. I could have gone further, but 600 was a nice round number. I also used the elevation and windage holds inside the etched reticle. After just 10 rounds, I was able, in a 12 mph crosswind, at a distance of 560 yards, to smash an 8-inch steel plate. If you spend time with this optic and learn your holdovers, you can be deadly without touching your windage or elevation turrets.
After 25 rounds, the scope held a true zero. In the coming weeks, I will try to get the Sightmark Presidio 3-18×50 MR2 riflescope into the woods. I will tote in my ALPS Elite Frame +3800 and let it bounce in scabbard when I ride horseback for late-season elk. I will add to this article and report my findings.
What I Loved
Sightmark could have hit a home run with this scope very well. I will know more after more in-the-field testing. Still, the price point is ideal, and the scope has several accuracy-enhancing technologies typically reserved for scopes at a higher price point. The scope was easy to sight in, and I applaud the inclusion of zero-stop dials.
What I Didn’t
The scope is heavy, and unscrewing the battery compartment, even with the gridded metal wheel, was extremely difficult. I also had two battery malfunctions. To fix the problem, I had to remove the battery, reset it, and tighten down the wheel.
Why Would You Buy a Sightmark Presidio?
This is one of the best budget scopes a hunter can get. Aside from its weight, it’s a super clear scope that performs well at close and far ranges. Red reticle illumination improves low-light aiming. The first focal plane etched glass reticle features elevation and windage holdovers, and the elevation and windage turrets are open-style with zero-stop settings. Both turrets produce clear, audible clicks and are fitted with aggressive knurled metal for an enhanced feel in any weather condition. The scope and lenses are waterproof and dustproof, and the scope will fit a variety of firearms, including ARs and bolt guns. The scope comes with an included flip-up lens cap, a magnification throw lever, and one CR2032 battery.
FAQs
What do the numbers on a riflescope mean?
This can be confusing, but it’s straightforward once you understand the numbers. The first number is the lowest magnification power the scope is capable of. In the case of the Presidio 3-18x50mm, the lowest magnification power is 3x, and the highest magnification power is 18x. The magnification range is always listed first. The last number is the diameter of the objective lens. In thje Presidio’s case, the objective lens’s measurement diameter is 40mm.
What is the best riflescope magnification for close range?
When shooting between 50 and 100 yards, 4x and 6x are excellent magnification choices.
What is the best riflescope magnification for long-range?
Typically, the further the shot, the more magnification a shooter wants. Popular long-range magnification ranges include 12x, 15x, and 18x in a hunting scope.
What is the difference between a fixed and variable riflescope?
A fixed power scope has no adjustable magnification. For instance, if the scope is a 6-power scope, 6x is the only magnification the optic is capable of. A variable riflescope, like the Presidio 3-18x50mm, allows magnification across a power range between 3x and 18x. Variable scopes are typically more sought-after, especially when hunting western big game.
What is a riflescope reticle?
This is the aiming point or pattern visible when looking through a rifle-mounted optic. Reticles come in many types, such as duplex, Mil-dot, BDC, MOA, etc. There are also first and second focal plane reticles. A first focal plane reticle means the reticle inside the optic will get bigger as magnification increases and smaller and magnification decreases. A second focal plane reticle does the opposite.
Why does the size of the objective lens matter?
The larger the diameter of the objective lens, the more ambient light the optic can absorb, which is critical when low-light shooting situations arise.
Final Thoughts – Sightmark Presidio
If you’re in the market for a long-range rifle topper loaded with purposeful features and set at a wallet-friendly price point, Sightmark’s Presidio 3-18×50 MR2 should climb the rankings as you research and look to make your scope selection.


 in a Super Black Eagle 3")


