Walleye Fishing on the ice!
Typically, when we are out walleye fishing in the boat and the fish aren’t biting, we will move and go looking for aggressive fish that will bite. This is done by trolling further down the shoreline, adjusting our fishing depth or by pulling up stakes and moving to a completely different area on the lake. Yet, on so many icefishing outings for walleye, we are somehow content to sit in the exact same spot all day long waiting for the walleye to move in and bite. And if they don’t, we chalk things up to the fish not being hungry that day.
Over the past few icefishing seasons, I’ve started to run and gun for winter walleye. By doing so, I’ve upped my catch rate and can say I catch more fish by moving than I would if I just stayed in the same spot all day long.
Setting the Stage – Understanding Walleye Movements under the ice
Walleye are cold blooded creatures. This means their internal body temperature matches the water temperature they are swimming in. As a walleye’s body temperature cools off so too does its metabolism. Even though their metabolism slows in the winter months, they still need to eat to survive, but they do not eat nearly as much as they did during the spring, summer and fall.
During winter, walleye typically spend most of their day resting in deeper water areas. Some fish will hold tight on the deep structure of a steep ledge while others will suspend in mid water depths over deep water areas adjacent to shallower water areas. Late in the afternoon, the walleye will move into shallower water areas to feed. Often, they remain in the shallow water areas all night and will then move slowly back towards their deeper water sanctuaries as the sun rises and gets higher in the sky. Returning for deeper water, they are still in a feeding mode.
Always take note of any winter walleye feeding locations you may find because walleye will often use the same feeding areas year after year. Once you find one area on the lake where walleye feed, search out other similar locations in different areas of the lake. Often there will be other similar areas in close proximity to the feeding area you found and in other cases, similar locations may be a few miles away. The more feeding locations you have to choose from, the better it is for you because excessive fishing pressure or the lack of baitfish and aquatic creatures at one location can quickly force the walleye to move elsewhere on the lake to feed.
If you are sitting in in your ice shack in one spot all day long, the window of opportunity to catch fish is very limited. However, by understanding when walleye move to feed and moving with them as they do so, you will greatly increase your chances of catching yourself some winter walleye.
Setting up your Walleye Fishing Gear
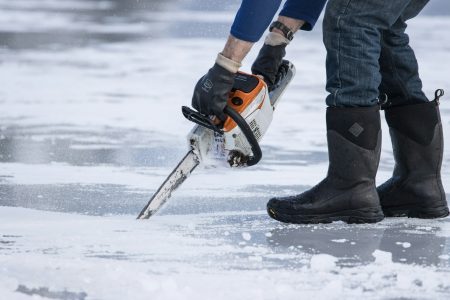
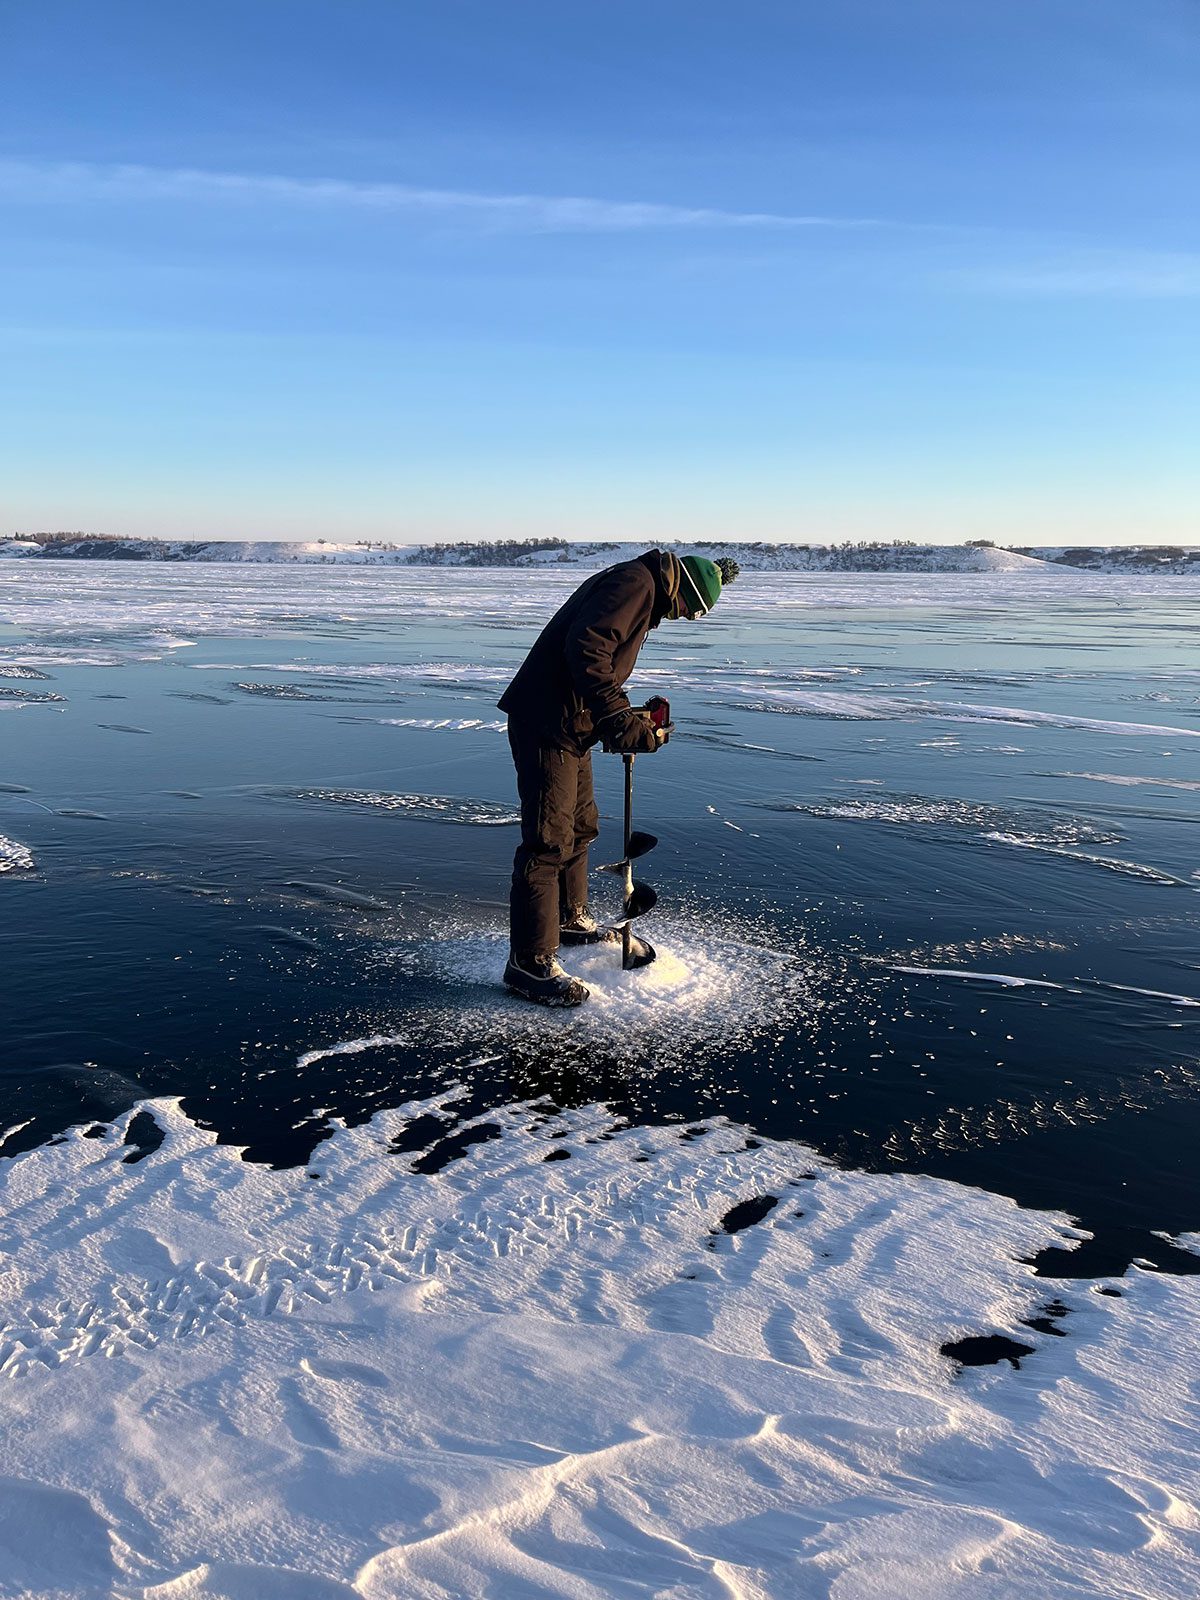
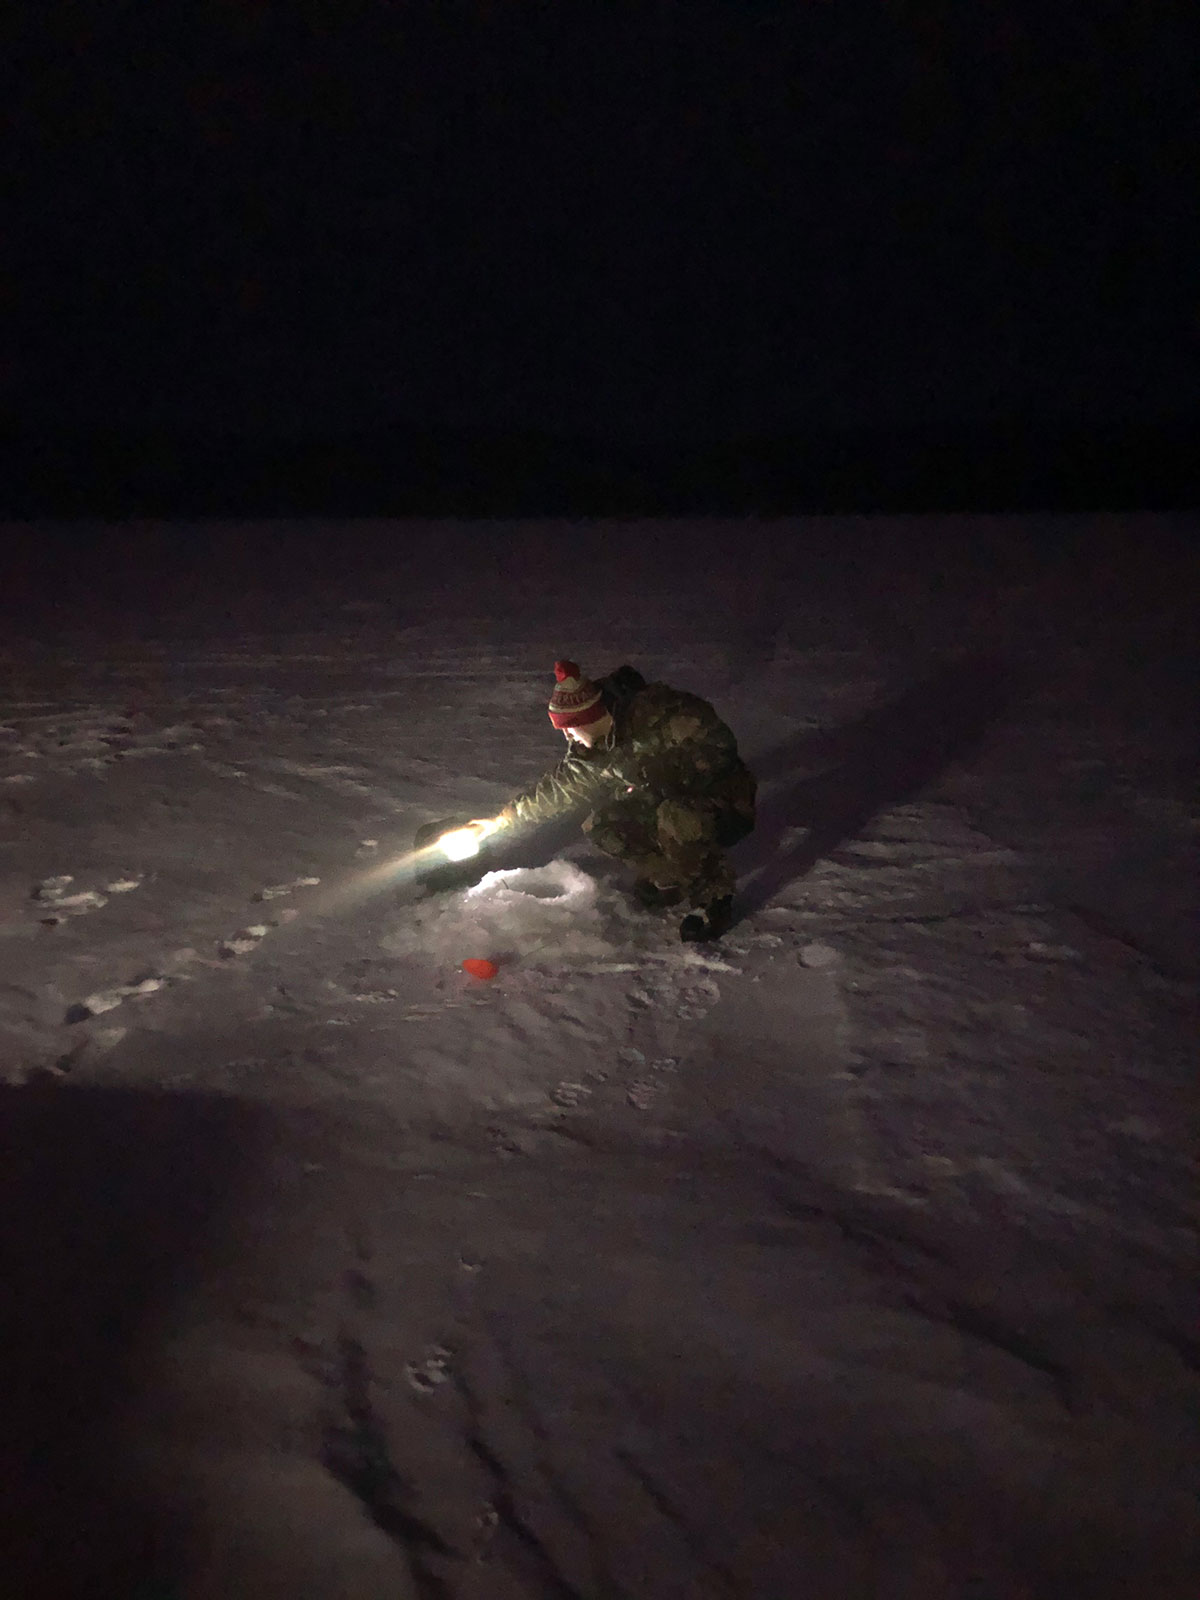
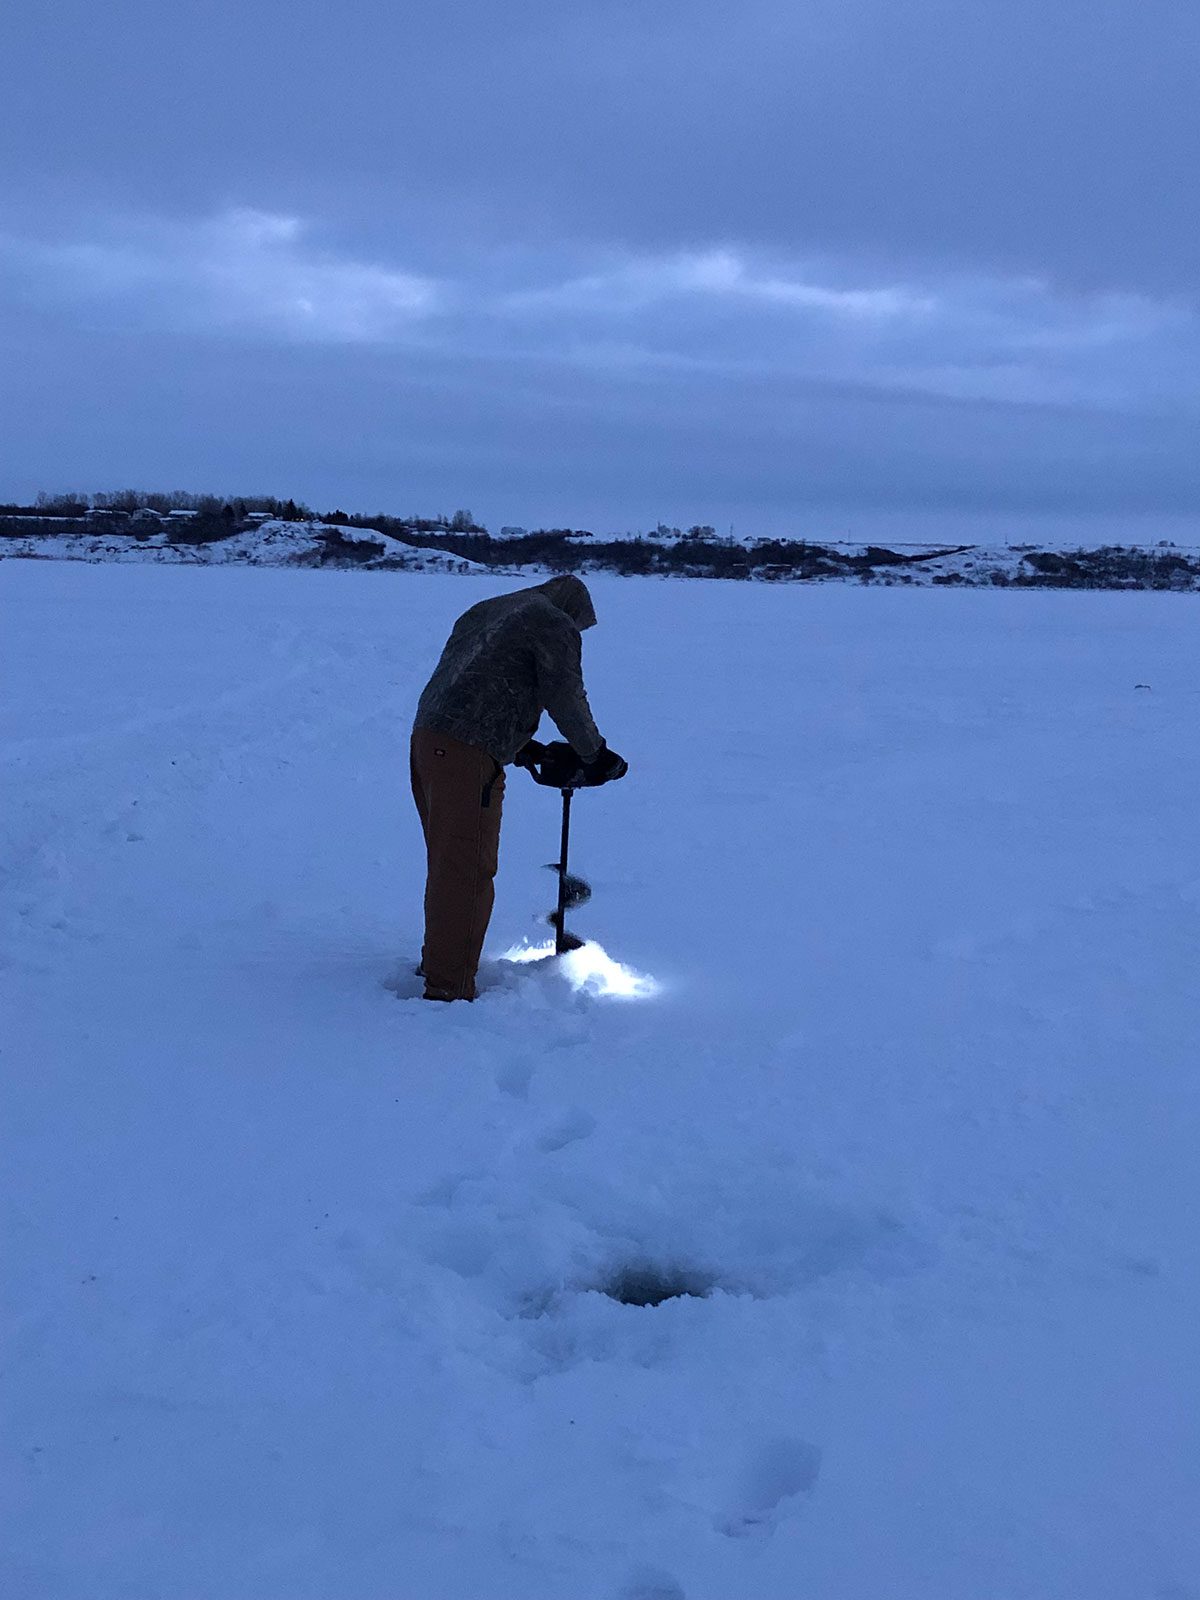
When running and gunning, I like to get on the ice well before the time I expect the fish to start biting and pre drill my holes. This way, I’m not drilling holes when the fishing action is on, which allows me to concentrate on fishing and not spook any fish by drilling holes over top of them. I typically, run a series of holes spaced out about five to ten feet apart from the shallowest depth I anticipate to fish to be to the deepest depth I’ll fish. When fishing with buddies, I will run extra lines of holes for each angler in my group and position those holes in ten foot increments on both sides of the original line of holes. That way, we can flip flop from hole to hole, fish different depths and if need be, we can all fish in a similar depth of water at any given time.
When walleye fishing the late afternoon bite, I’ll arrive at my fishing spot mid-afternoon and drill my holes as soon as I arrive. Once all the holes are punched, I’ll put my auger away then get out my fishing gear. I’ll start fishing in the deepest depths and wait for the action to begin. Once the action begins, I’ll move with the fish as they slide into the shallower water areas.
When fishing the morning period, I will arrive on the ice well in advance of sunrise. I will start drilling my deepest holes and then punch my line of holes into shallower water. I typically stop drilling holes when I get to 12 to 15 feet of water as I don’t want to spook fish that are shallower than that. With all the holes drilled, I pull out my fish rod and electronics and start fishing the shallowest holes as I wait for the fish to bite. As the morning unfolds, I will follow them out to 25 to 28 feet of water.
Electronics – get the most from your flasher
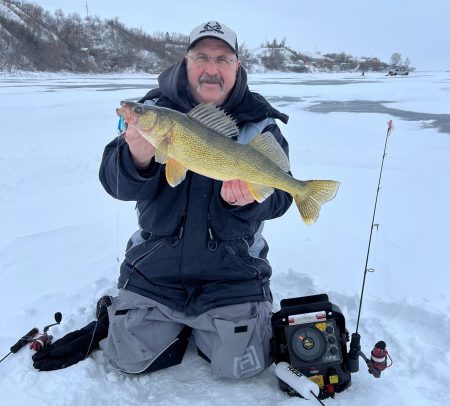
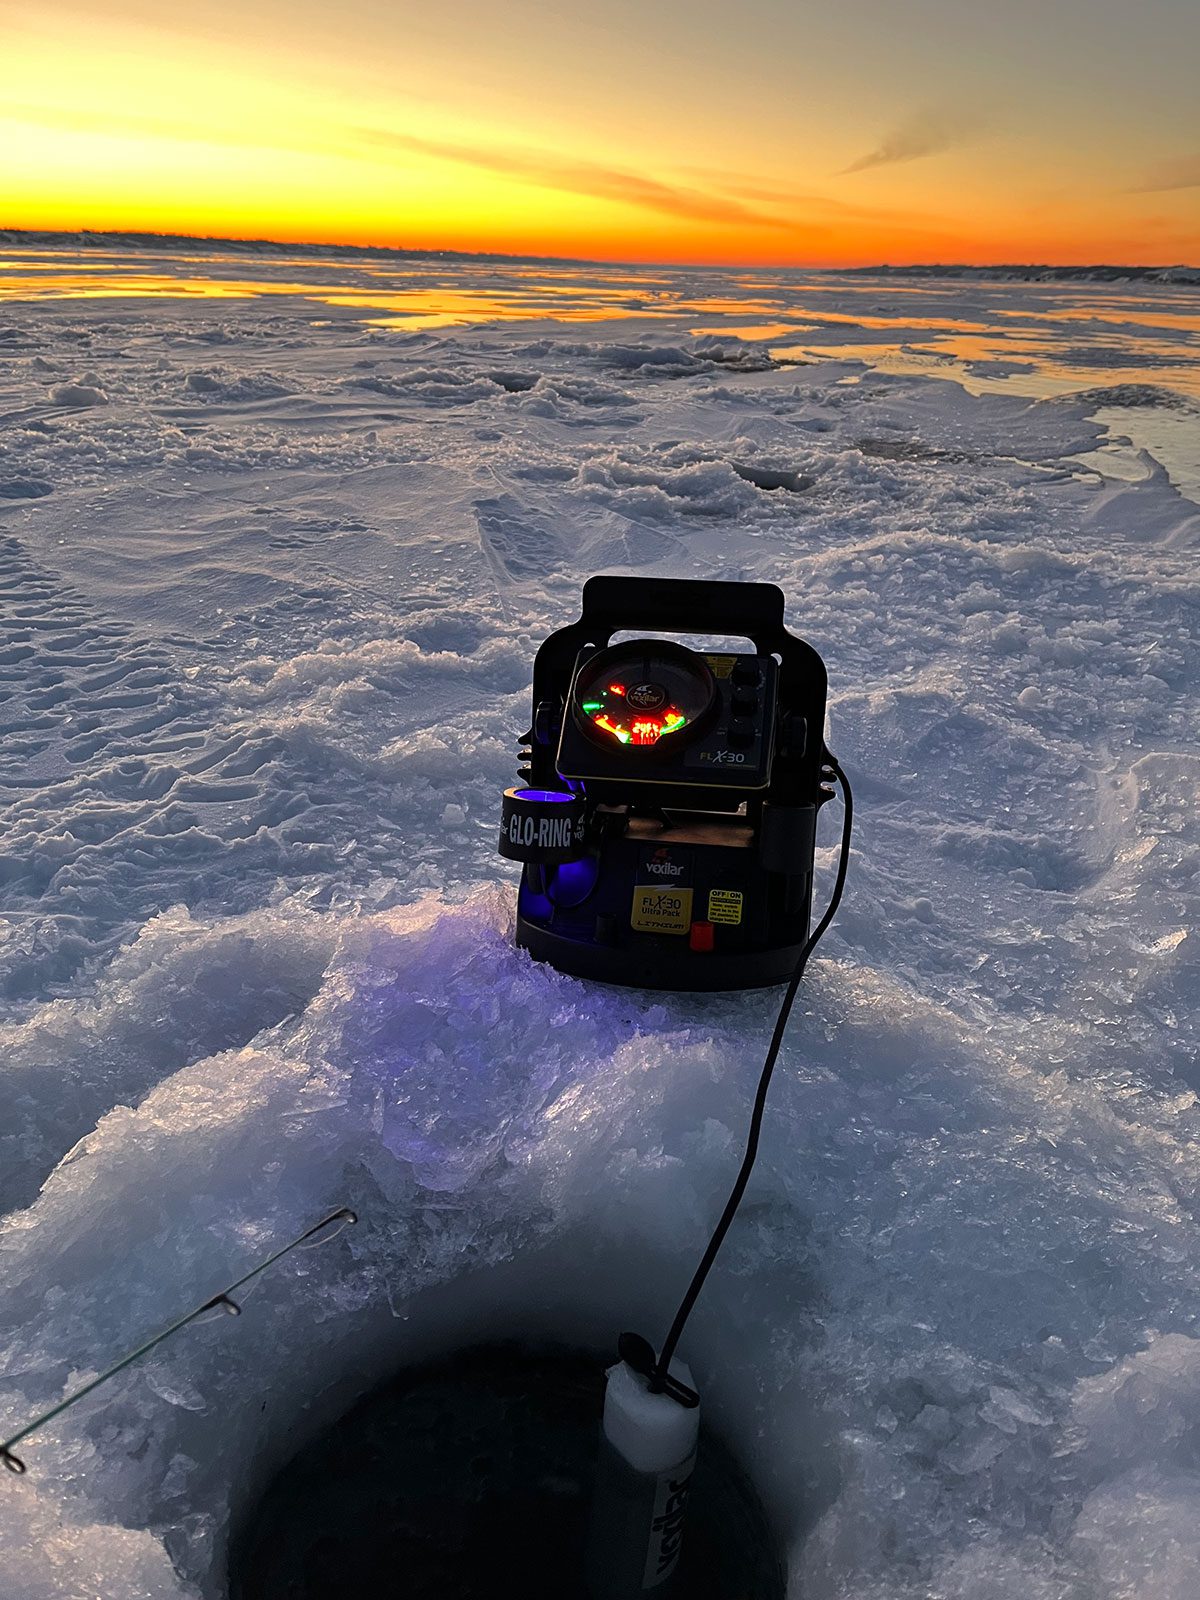
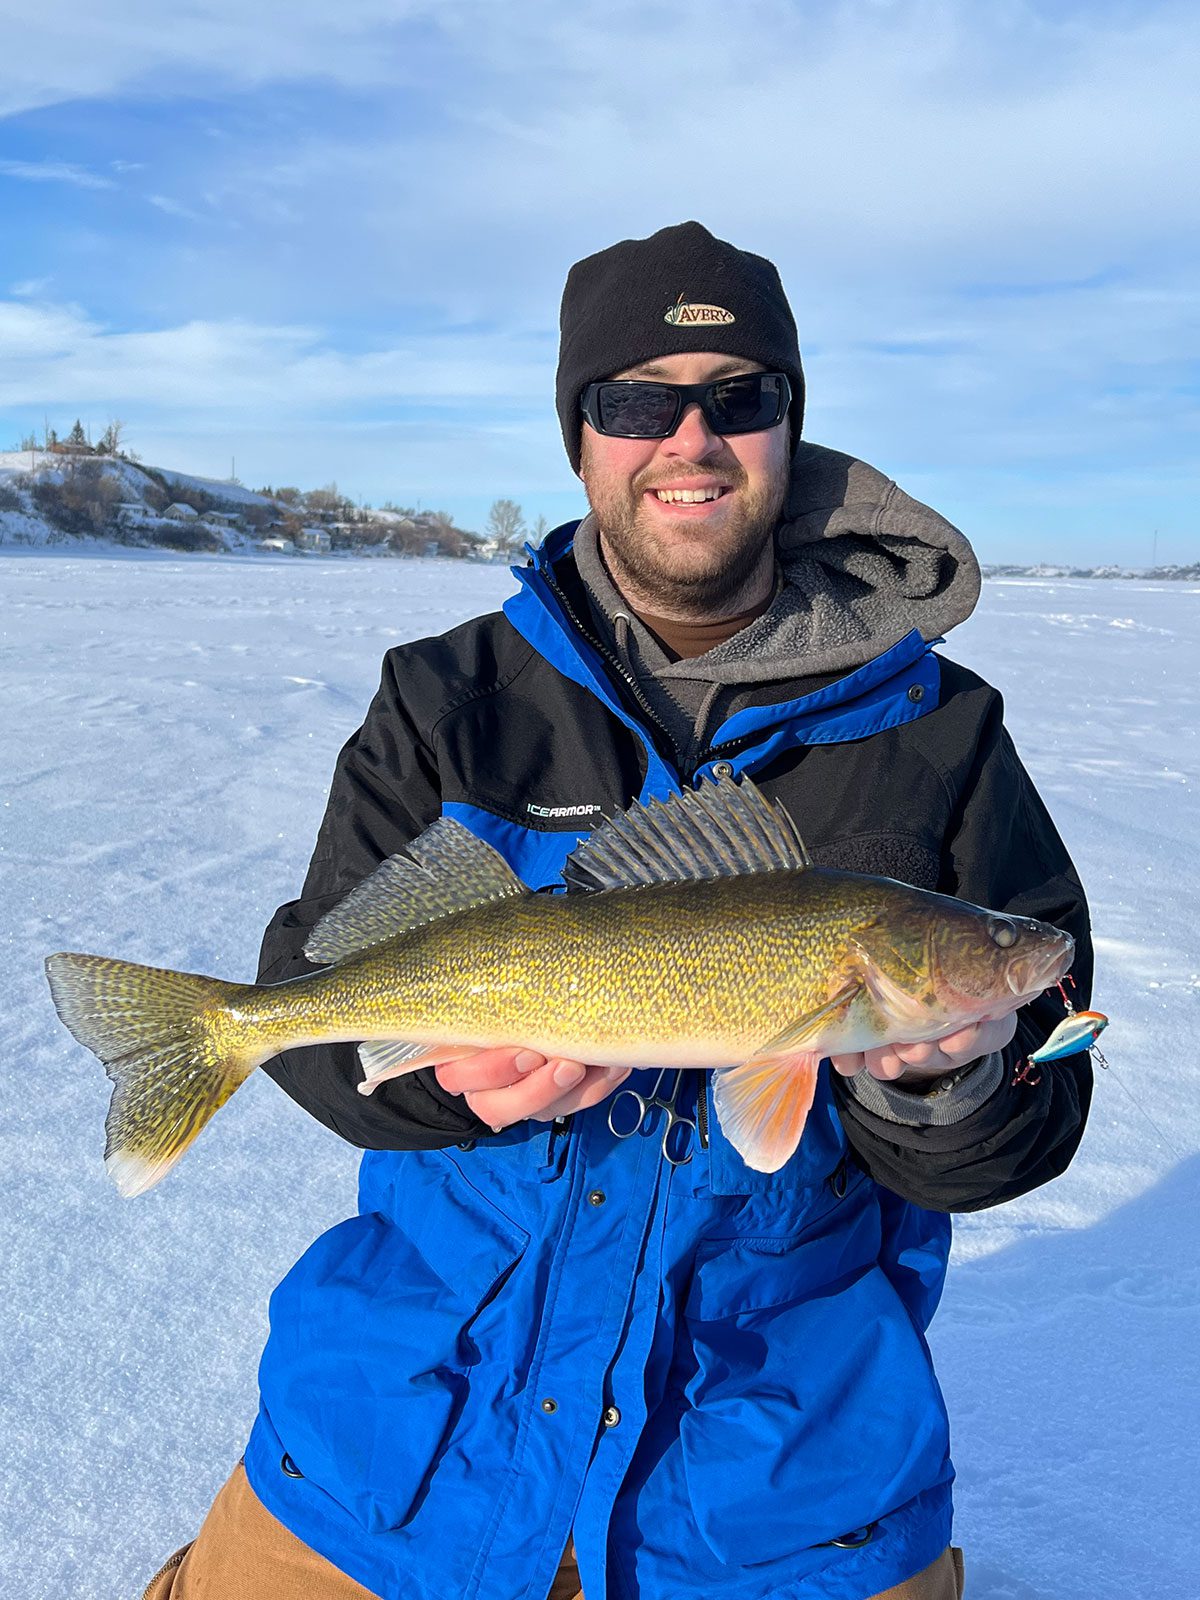
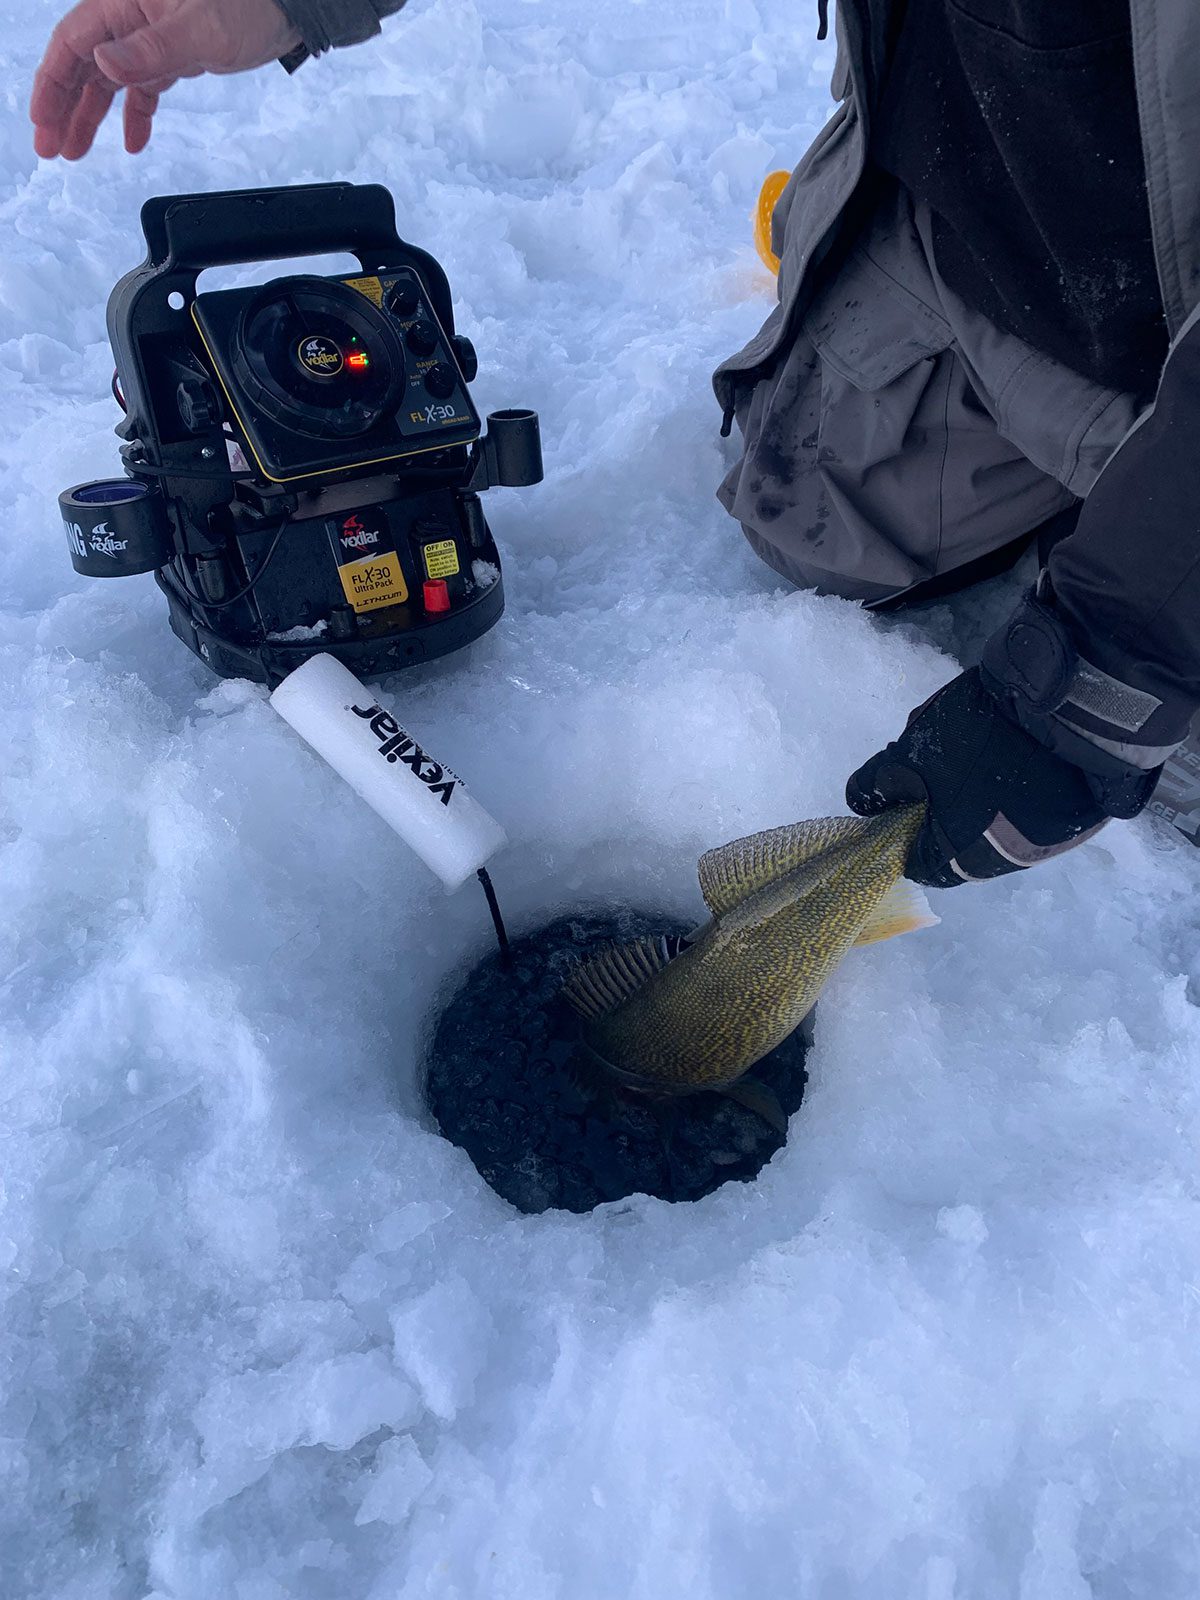
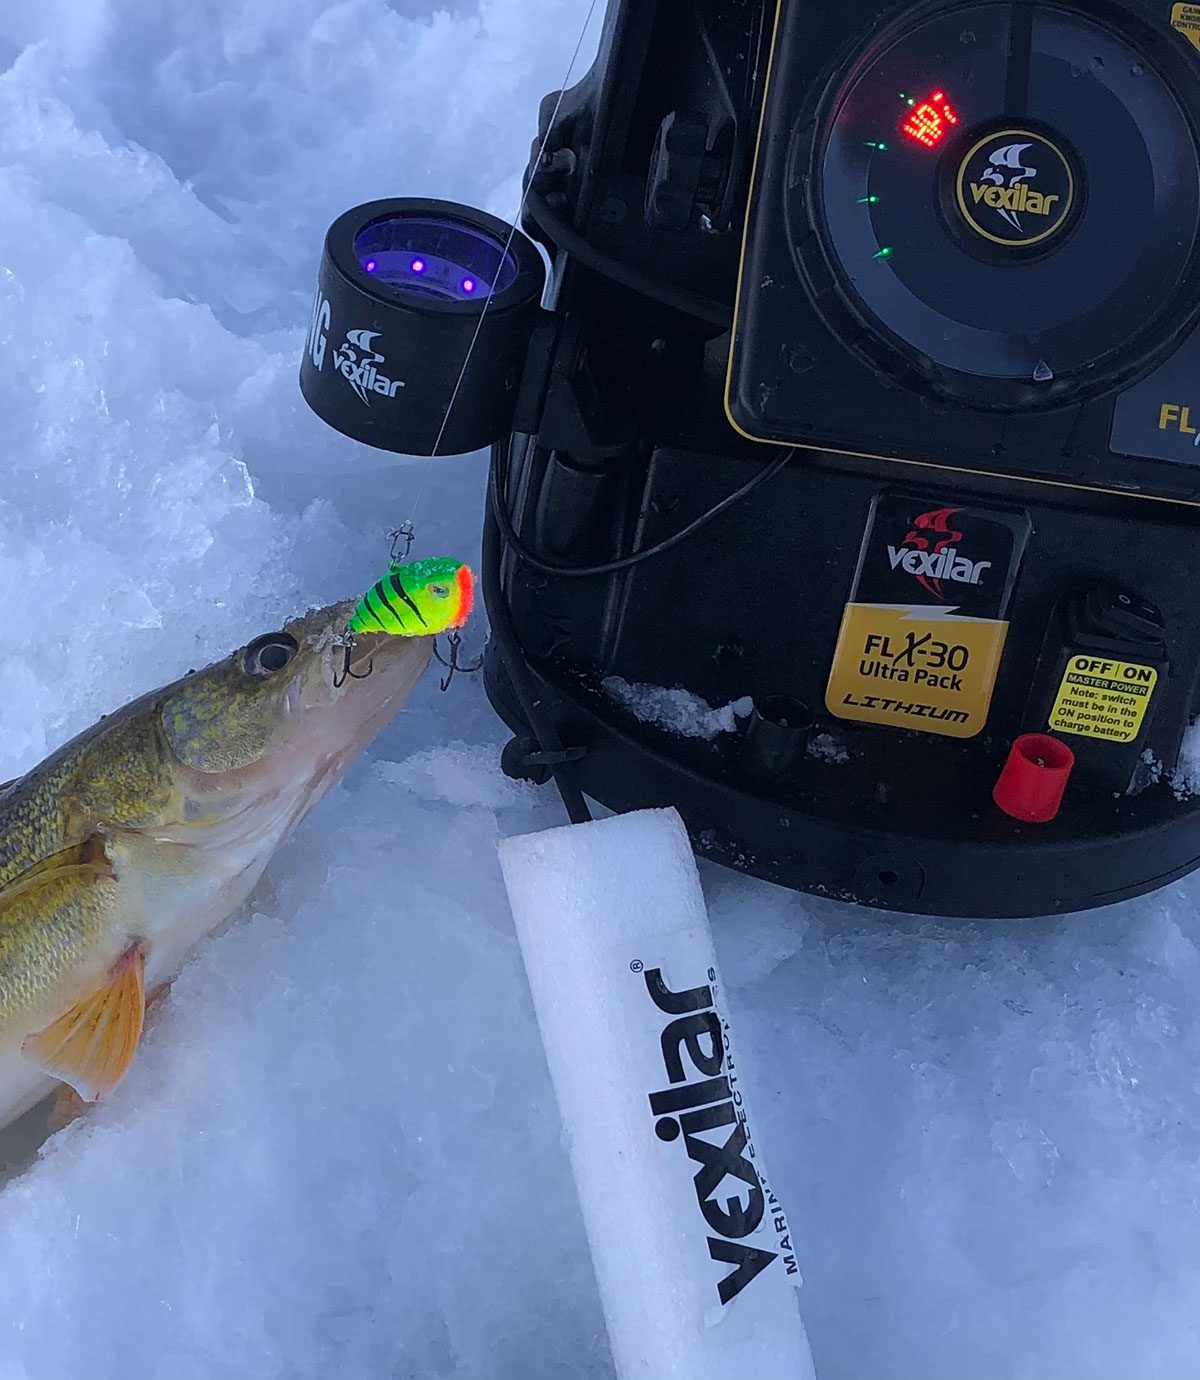
You must be able to see the fish in order to follow them. For this I suggest using a flasher unit as they are quite compact, easy to move, simple to get set up and give you live readings of what is going on below the ice. I use a Vexilar Fbillb@LX 30 Flasher for my running and gunning walleye fishing as they have great target separation that allows me to see walleye right on the bottom. Plus, these units allow me to change the beam angle of the transducer to zoom in and out of the lake bottom which also helps me find fish.
I don’t move from hole to hole just for the sake of moving. If I am seeing and catching fish at a certain depth I’ll stay there and keep on fishing until the action dies off. At that point, it’s time to make a move to a different hole in the direction of depth of water I anticipate the fish to be moving towards. If my move to the next hole does not produce fish or marks on my flasher in the next five minutes, I will keep moving until I find fish to catch.
On some days, the movement of fish is very slow and you can catch multiple fish out of the same hole. On other days, the fish will move much quicker and you may only catch a fish out of ever third or fourth hole. I have yet to figure out why this is the case but feel it has to do with the abundance or lack of baitfish on those given days. As a result, I let the fish dictate how fast and how many times I need to move.
Being mobile to find winter walleye
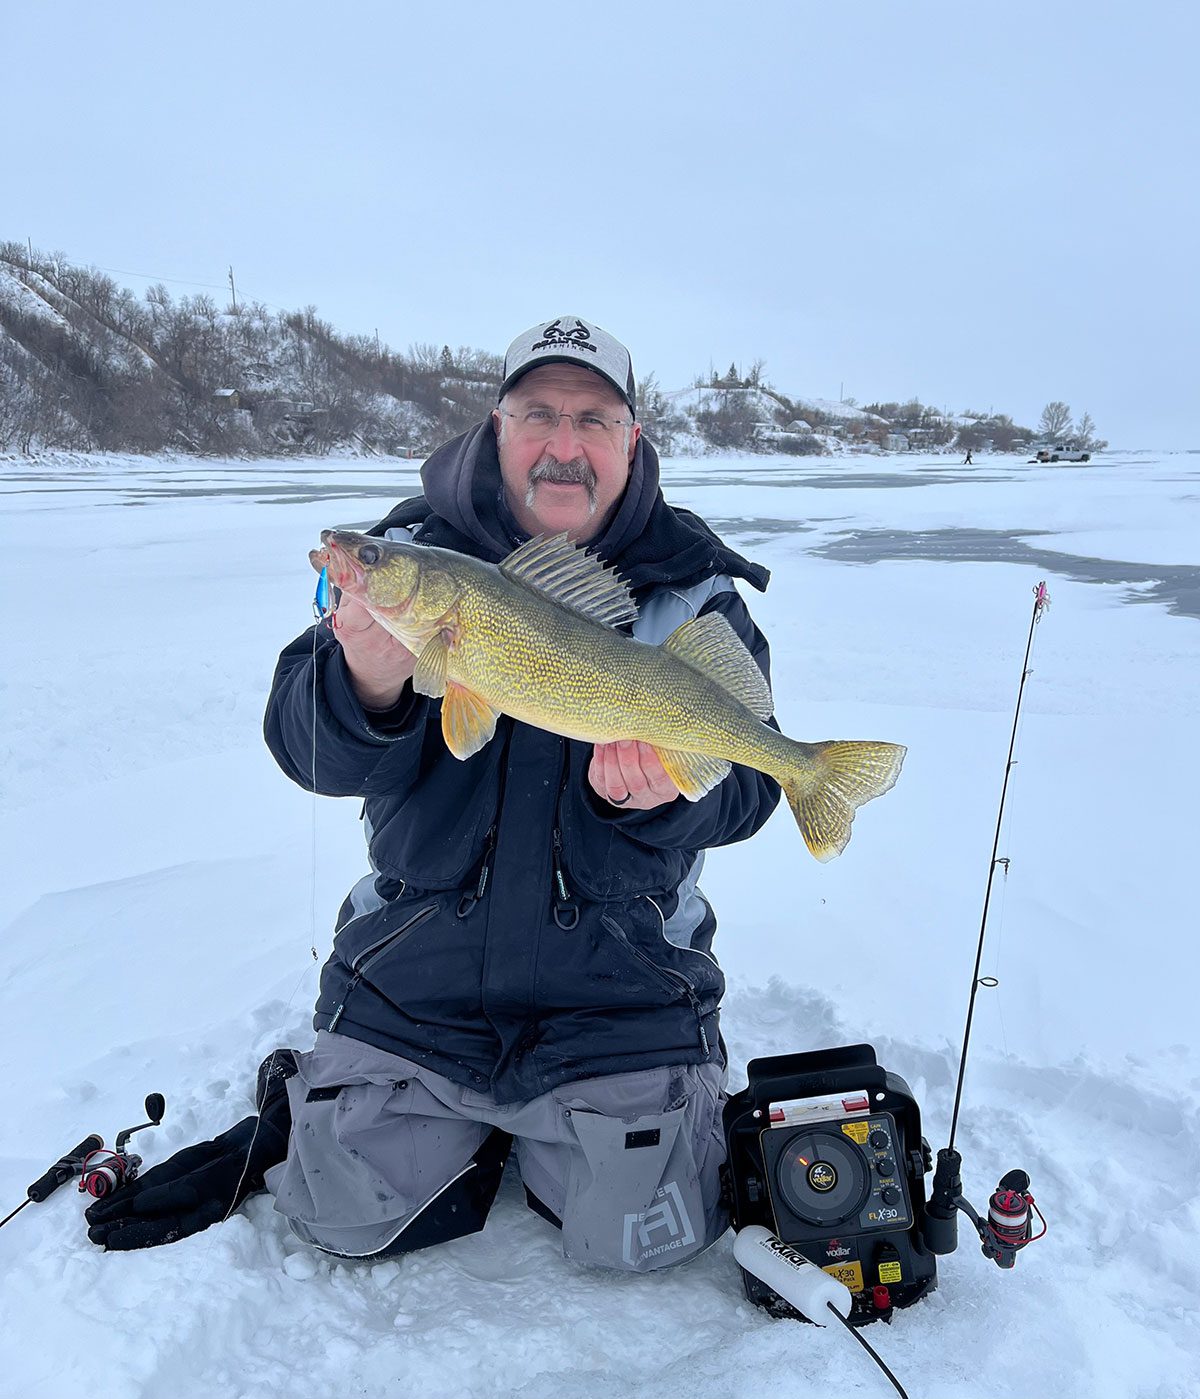
Bouncing from hole to hole to requires you to be as mobile as possible. When hoping from hole to hole I’ve refined the amount of gear I carry with me. I stand while fishing and don’t sit down. I fish with one rod, even though most jurisdictions allow anglers to use two rods, my flasher with a spare rod in the flasher’s rod holder and a five-gallon pail. Inside the pail, I carry 3 extra fishing rods, my containers of fishing bait, a pair of long nose pliers, a scoop to clean out the holes and small box of extra lures. I always have my extra rods rigged with different styles and colors of lures so they are ready to go quickly in the event I want to make a lure change or end up tangling or breaking off my line.
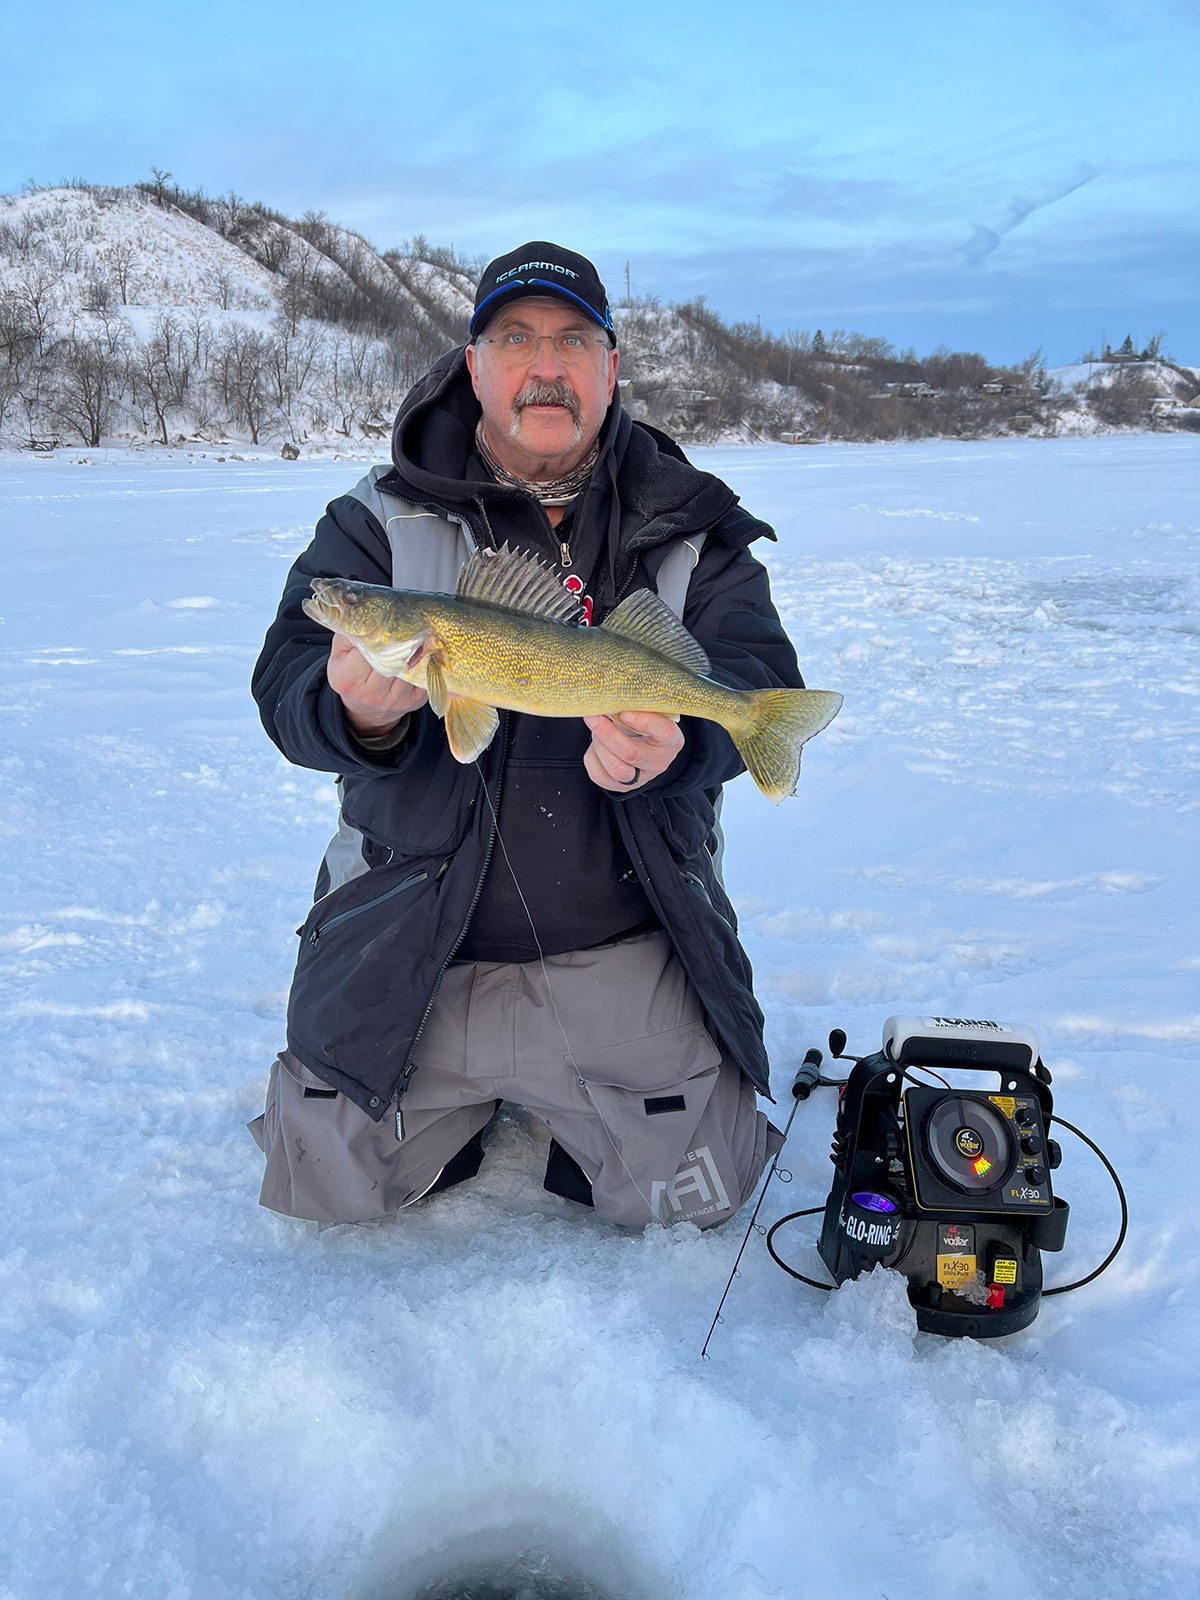
When I plan to move to the next hole, I quickly reel up my lure. Then using the same hand I’m holding my fishing rod in; I’ll pull the transducer out of the hole and grab the handle of my flasher. With my other hand, I grab my 5-gallon pail and move to the next hole. As I arrive at the next hole, I’ll set down the pail, position my flasher, plop the transducer in the hole and then drop my lure down hole. As my lure drops, I will look at the flasher screen for fish. The entire process takes mere seconds and eliminates extra movements and steps.
I rarely use an ice shelter when hoping from hole to hole so I can stay mobile. Fishing in the open without a shelter requires you to be well dressed. This means water proof and insulated boots to keep your feet warm when standing and dry if you kick a hole open with the toe or heel of your boot. Dressing in layers and making your final layer a pair of insulated bibs and parka will help keep you warm. Often, I fish bare handed but on cold days I prefer wearing insulated gloves over mitts as they allow me to do more with my hands.
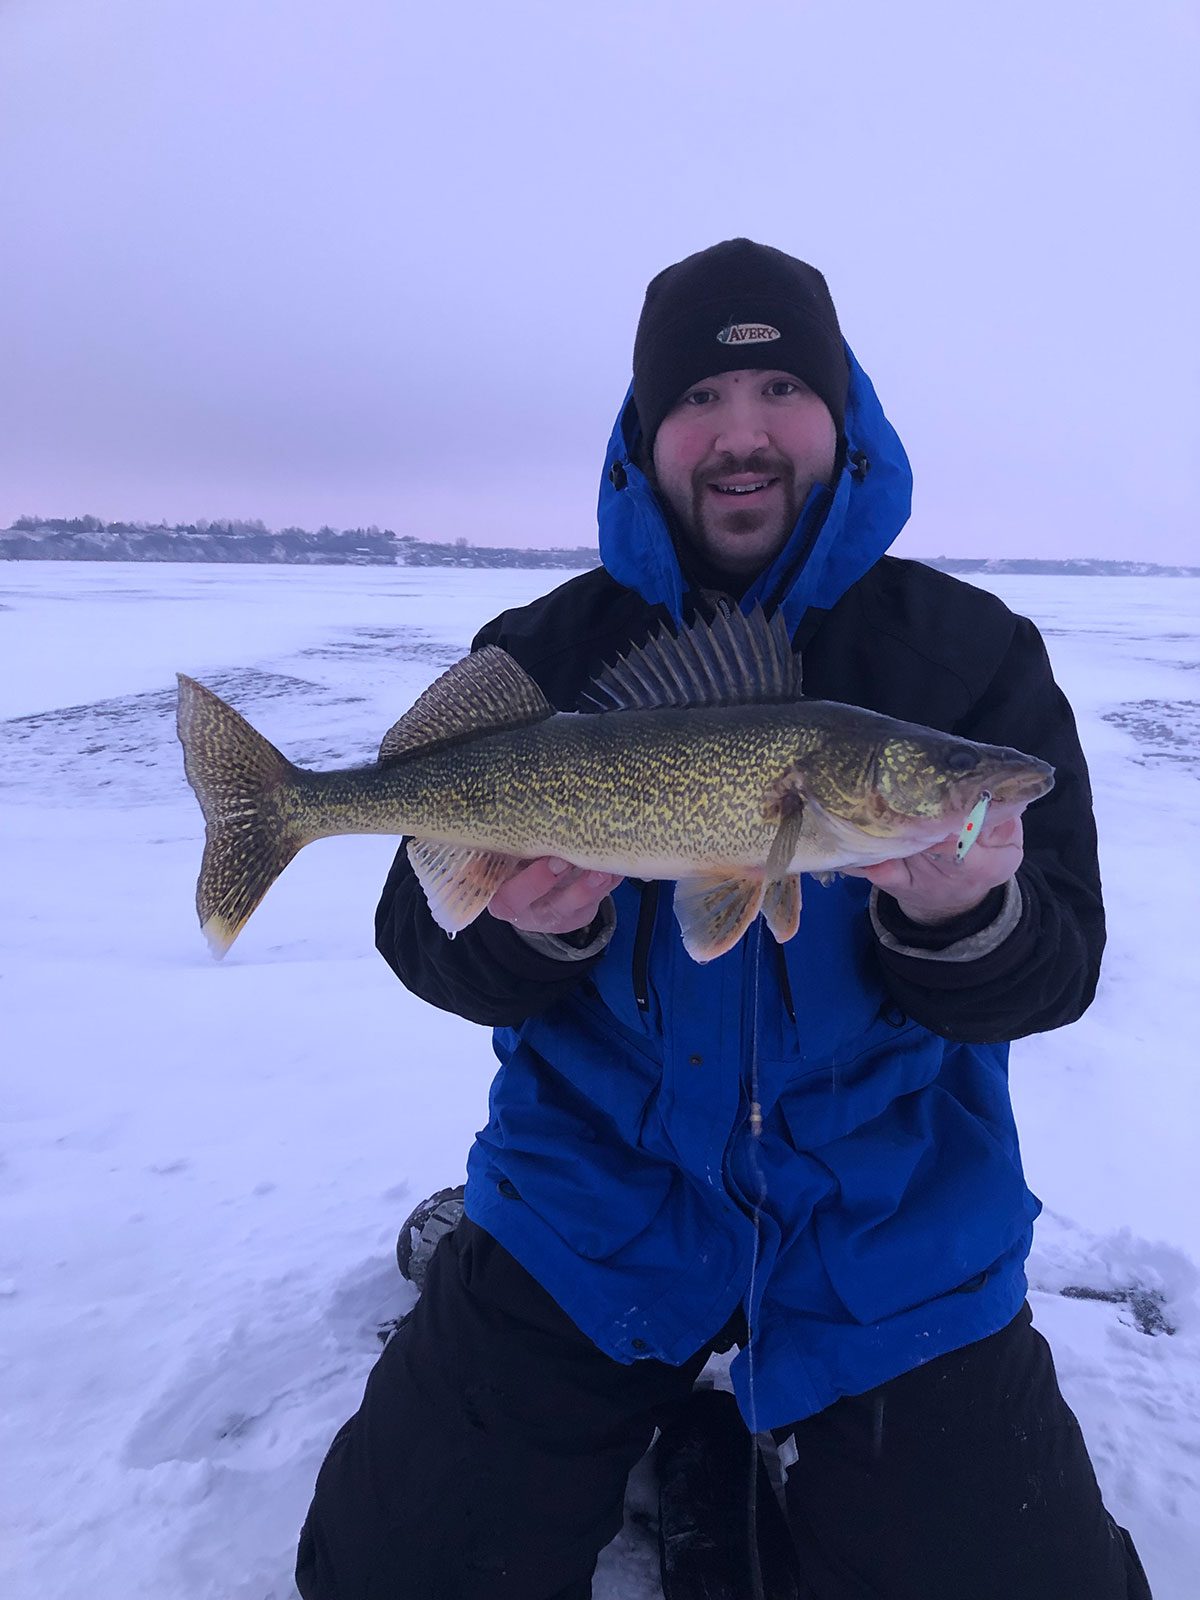
On the coldest of days, I will use my portable Clam Voyager XT Thermal flip up shelter. I like this shelter as it can easily be pulled from spot to spot. When using my flip up shelter, my pail with my rods and gear stays right in the shelter which allows me to move quickly.
Often all goes according to plan and the fishing action unfolds the way it was anticipated to. However, its fishing and sometimes the fish just aren’t there or won’t bite. When this happens, it’s time to quickly pack up and move to another fishing location. By using such a minimal amount of gear and not having it spread all over the fishing area it’s quick to pack up and head to the next location.
Rods and Reels for Walleye Fishing
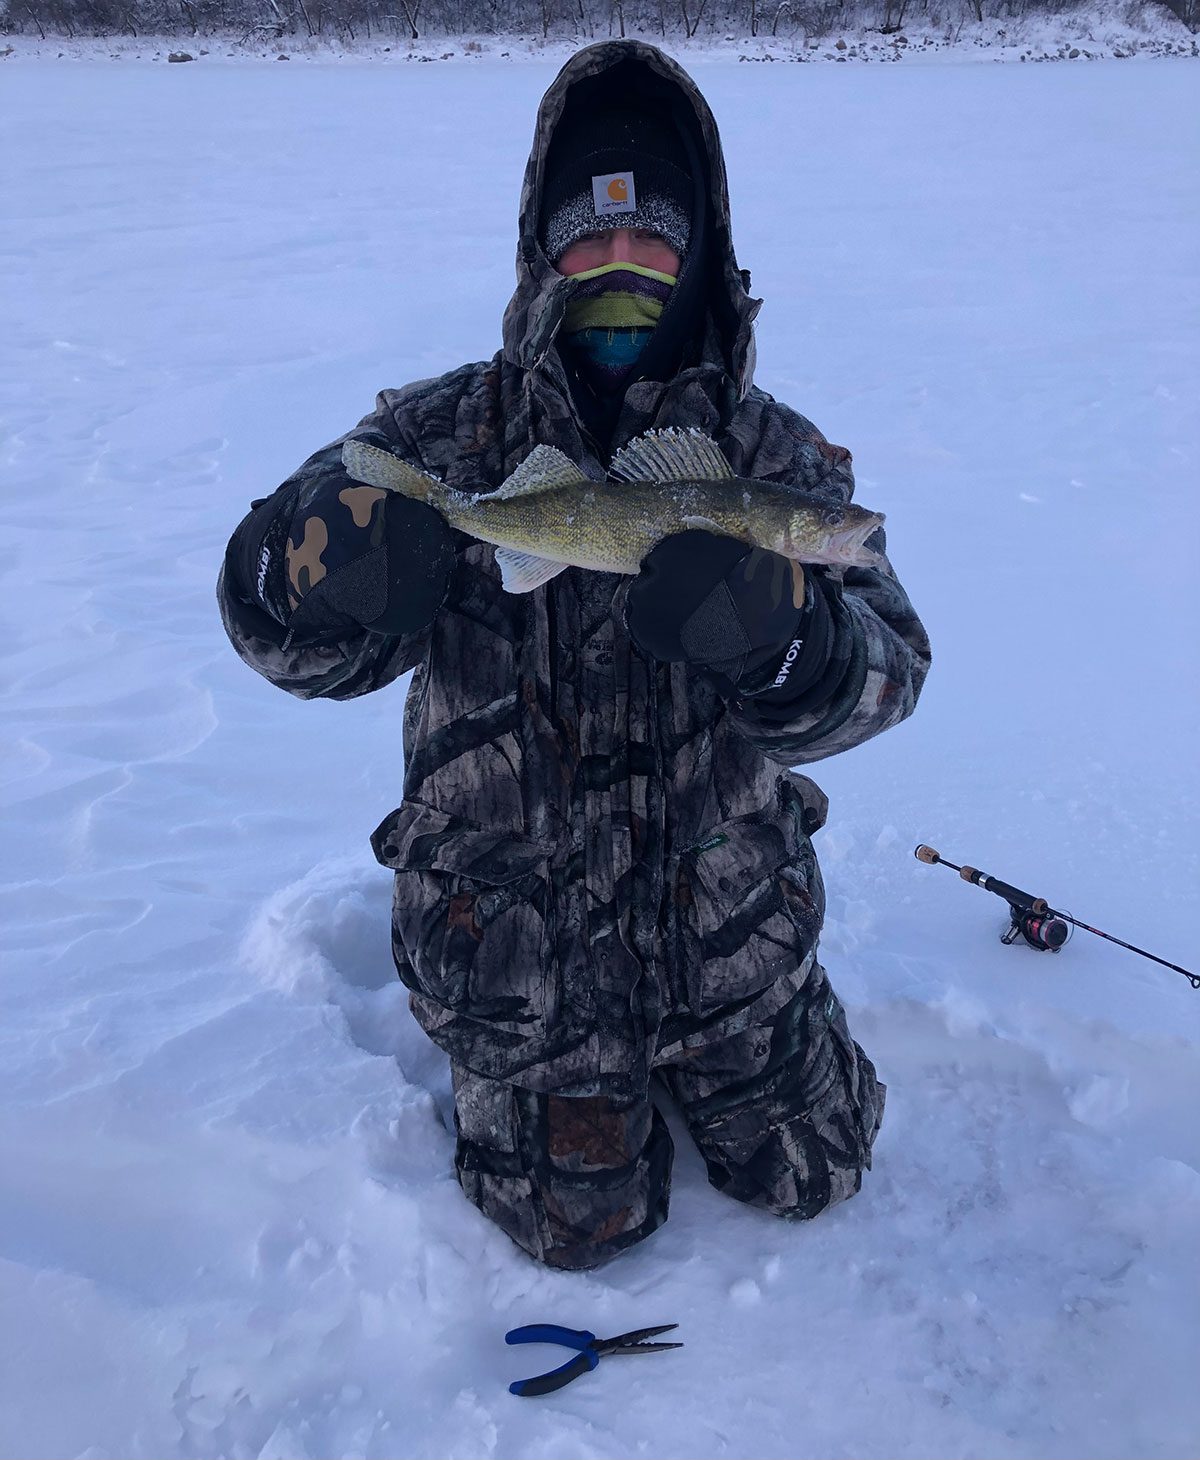
Standing and fishing requires a fishing rod that is longer than one you would use when sitting down to fish. When standing, I prefer to use rods in the 30 to 40 inch length range as they allow me to stand upright and not hunched over the hole. Fishing upright allows me to feel light strikes, get solid hook sets and prevents me from going home with a sore back and neck.
In terms of fishing rods, I like to use medium to medium heavy fishing rods with fast tips. These types of rods allow me to feel the lightest of bites and still have enough back bone to land the fish I hook into. Last winter I used the new 34-inch Medium Action Clam Katana Fishing Rod as my main fishing rod and continue to do so this year as I found this rod lightweight, well balanced and extremely sensitive.
In terms of fishing reels, I prefer spinning reels as these reels make it easy to let out line and reel it in. Also, I can see my line at all times which helps me stay on top of tangles and freeze ups. In terms of fishing line, I like to use 6 pound fluorocarbon as it is durable, abrasion resistant around the ice holes, sensitive and invisible underwater.
Luring Them In
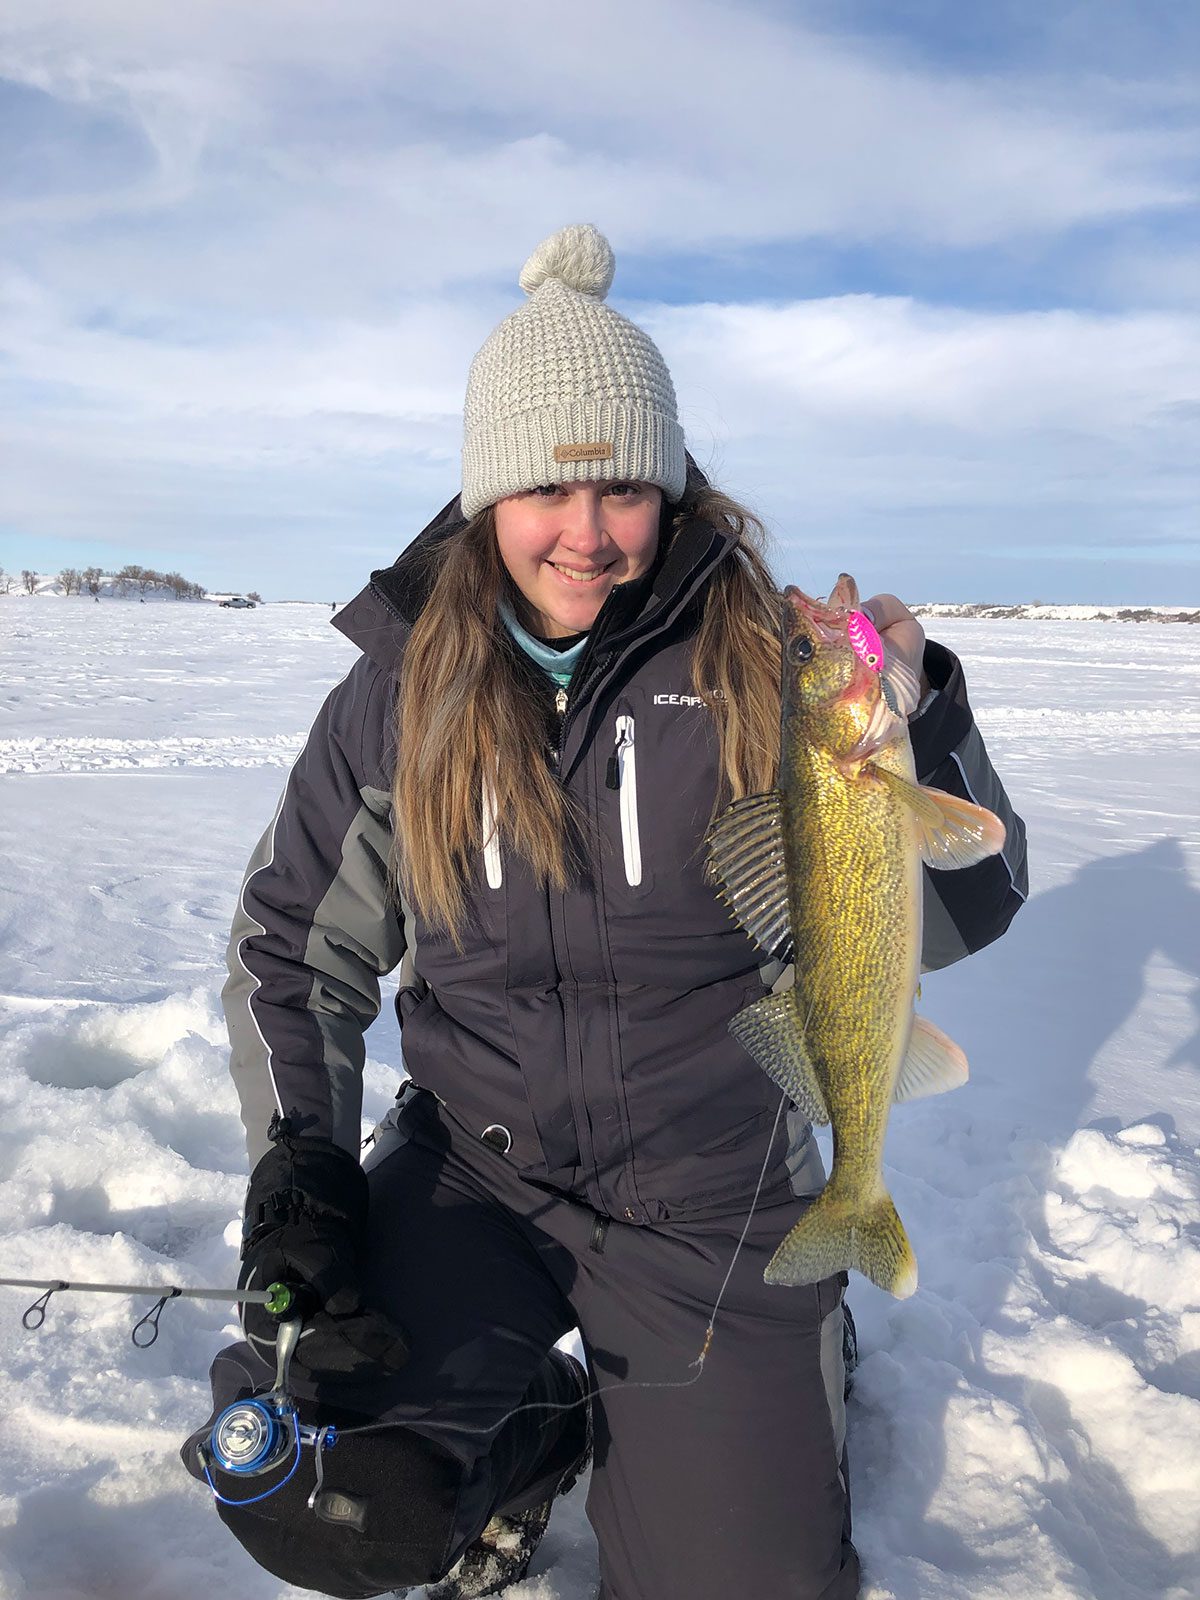
Since I’m targeting feeding walleye when I run and gun, I like to use an aggressive jigging cadence using lures that vibrate, flash and flutter as they move. To further attract walleye and trigger strikes, I like to use lures in natural baitfish colors such as white, silver, gold, blue chrome and brass along with brightly colored lures and those that glow.
One of my favorite lure styles to use for aggressive jigging is lipless crank baits also known as rattle baits. My go to rattle bait is a 1/2 ounce PK LuresRidge Rattl’r. The reason why I like to use rattle baits is they are best fished without any bait because bait throws off their natural action. That way I don’t have to worry about my bait falling off and rebaiting my lure when jigging aggressively. Since rattle baits are made of metal or hard plastic, I will add some fish attractant scent to them. My go to scent is Pro Cure Baitwaxx Walleye Scent as it comes in a deodorant style container, making it easy to apply without getting it all over my hands.
When fishing rattle baits, I will repeatedly rip them upwards two to three feet and let them settle. As soon as they bottom out, I will vibrate them sporadically. When a fish shows up on the screen of my flasher, I will keep vibrating the lure and slowly lift it upwards. It is on this rise where most strikes come. In the event the walleye just follow and won’t hit my rattle bait, I will quickly reel up and drop a jigging spoon downhole. Often the different dropping motion of the jigging spoon will trigger a strike.
Conservation
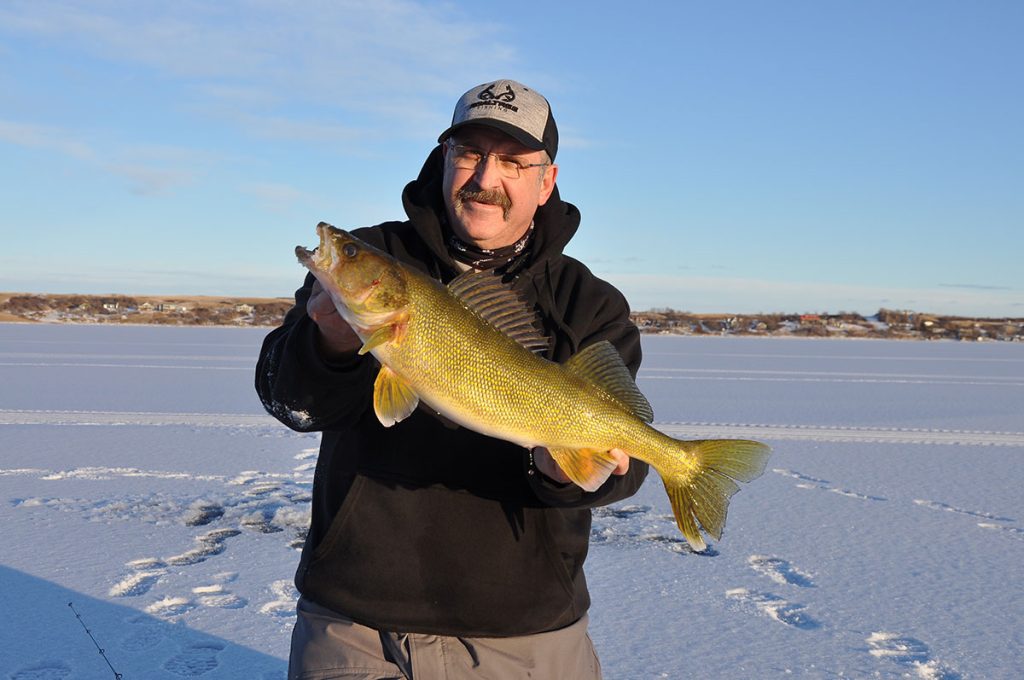
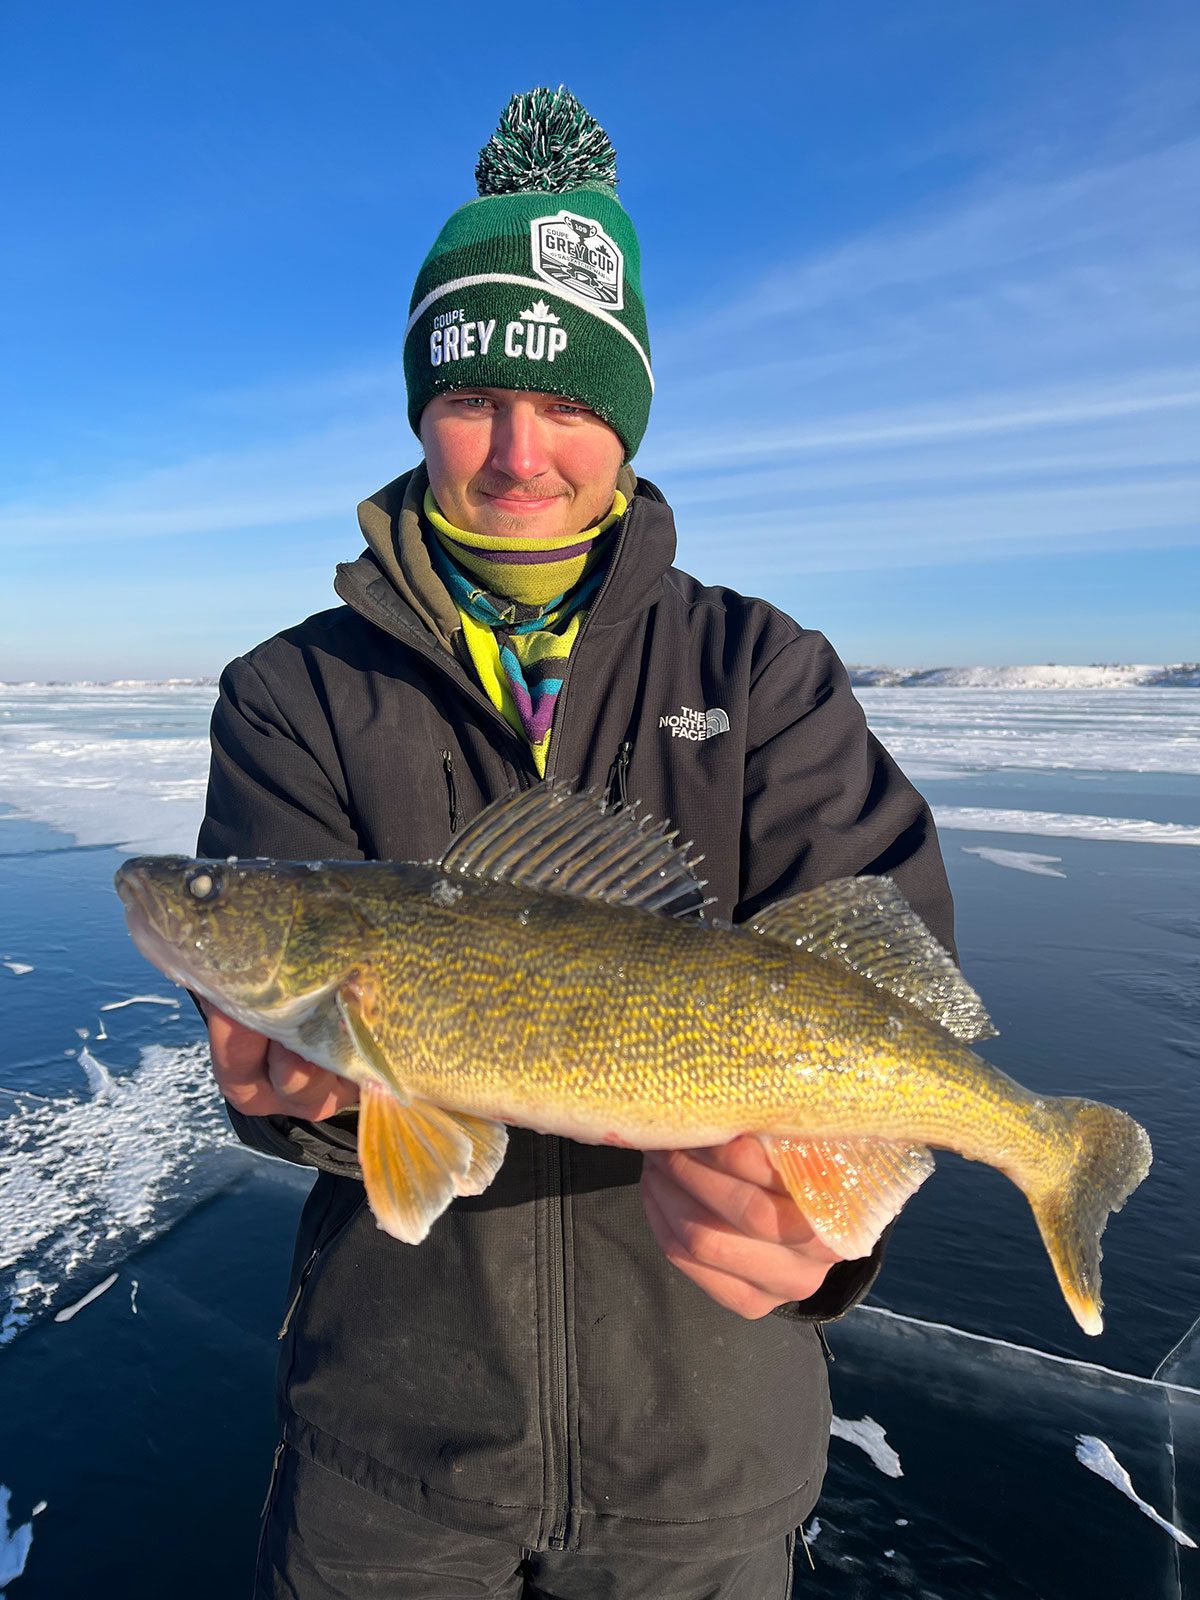
Big walleye are the future of icefishing as the bigger the female fish, the more eggs she will lay in the spring. In my home province of Saskatchewan, we are allowed to keep one walleye over 22.5 inches. However, I never keep any fish over 20 inches and my favorite sized fish to keep and eat are the smaller ones between 14 and 18 inches.
To ensure any fish I plan to release have high chance of survival, I refuse to fish any deeper than 30 feet of water and really try hard to run and gun at depths ranging between 12 and 25 feet of water. Doing so greatly reduces the chances of the fish getting barotrauma when reeled up from the deeper water and this greatly increases their chances of survival when released.
To further ensure the health of fish being released I have my pliers handy for quick hook removal and never put any weight on the fishes’ heads or bellies when removing the hooks. I also try to limit the amount of time the fish are out the water to prevent their eyes and fins from freezing.
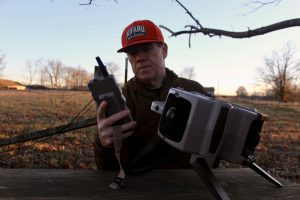
Mike demonstrates How to use a Vexilar Flasher unit to chase walleye under the ice!
Per our affiliate disclosure, we may earn revenue from the products available on this page. To learn more about how we test gear, click here.

