“How do I pick a fly rod?” It’s certainly a valid question, and although experienced fly-fishers often look at beginners who ask this with a wondrous eye, it is probably the first really good question that beginners ask.
Fly rods are not complicated pieces of equipment. Like any other rod, they have basic components: the blank, butt section, tip section, ferrule, handle, guides, and reel seat. They also come in various “actions”— slow, moderate, and fast, as well as different lengths and weights.
The rod blank is the rod itself without the handle, guides, or anything else. The blank can be made from several different materials, including bamboo, fiberglass, or graphite. Other materials have been tried, such as boron, but they have never caught on to any degree for various reasons (probably cost).
Graphite is definitely the material of choice these days. Although less forgiving than fiberglass, graphite is much stronger and lighter. Most fly rod manufacturers no longer even produce rods in materials other thangraphite. (If you are interested in how a graphite rod is made, here’s a link: graphite flyrods-How It’s Made- Bing video.)
Butt and Tip Sections
The majority of fly rods are built in two pieces: a butt section and a tip section. Travel/backpack rods come in three, four, and even five pieces. They are popular, but they’re still the exception.
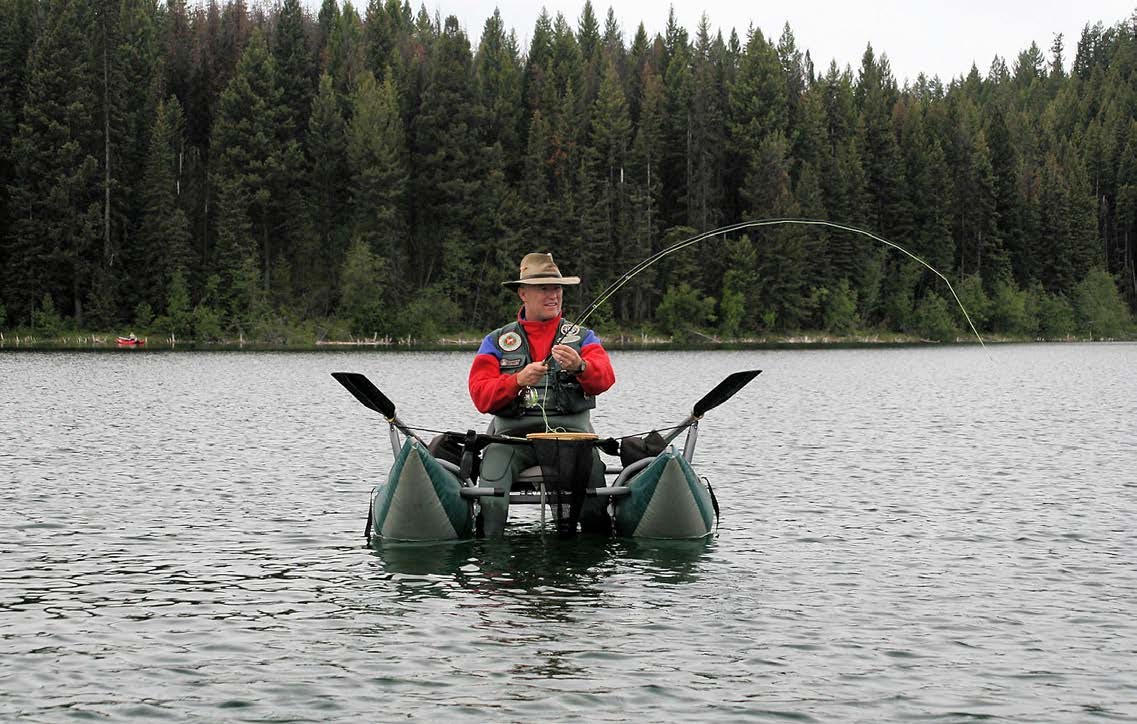
The butt section of a rod is the bottom end that includes the handle, reel seat, and butt. It provides what is called the “bottom end” power in the blank. When a heavy, tough fish is played on a rod, the rod should bend relatively easily to the butt section but should not go further. Big fish are fought with the butt section of the rod.
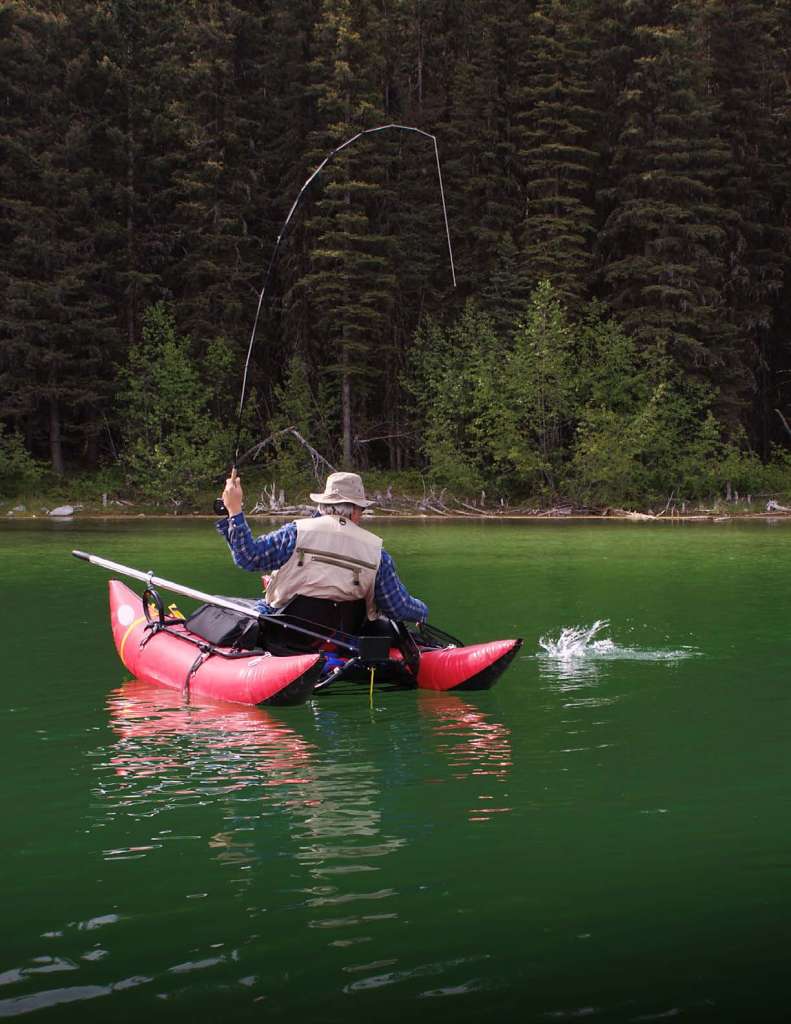
The tip section is the top half of the rod blank. It is flexible and supple and provides the delicate casts and feather-light deliveries required in some fly-fishing situations. The tip section absorbs the shocks caused by a fish’s violent head shakes and thrashings, allowing the fish to tire without having the tippet of your line break.
Check the Guides
Attached to the blank are the guides or eyelets. All the guides, except for the keeper guide, have the line strung through them, allowing you to control and cast the line. They keep the line attached to the rod.
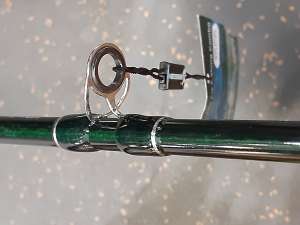
At the very top of the blank is the tip-top guide. The tip-top guide takes all the wear, so you have to keep an eye on it. Over time, because the line constantly passes over it, that will cut a groove which can sometimes wear completely through.
|
|
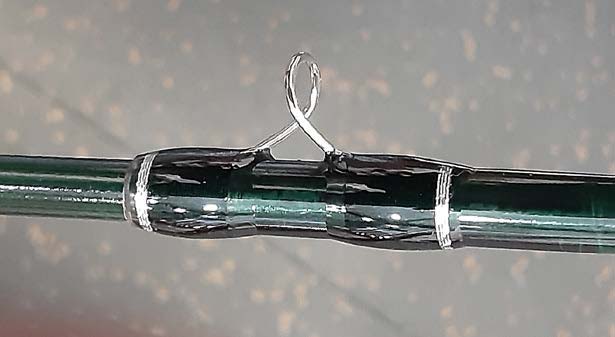 Snake Guide Snake Guide |
The guide is easy to replace and anybody who works on rods can do it quickly and efficiently. The rest of the guides are attached to the underside of the blank. They vary in size from small to large, starting at the tip of the rod and moving down to the handle of the rod.
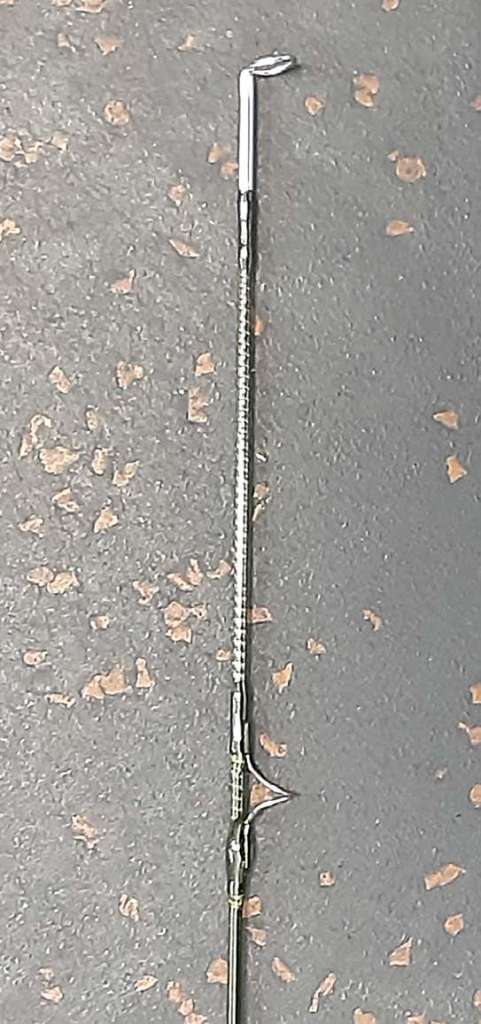
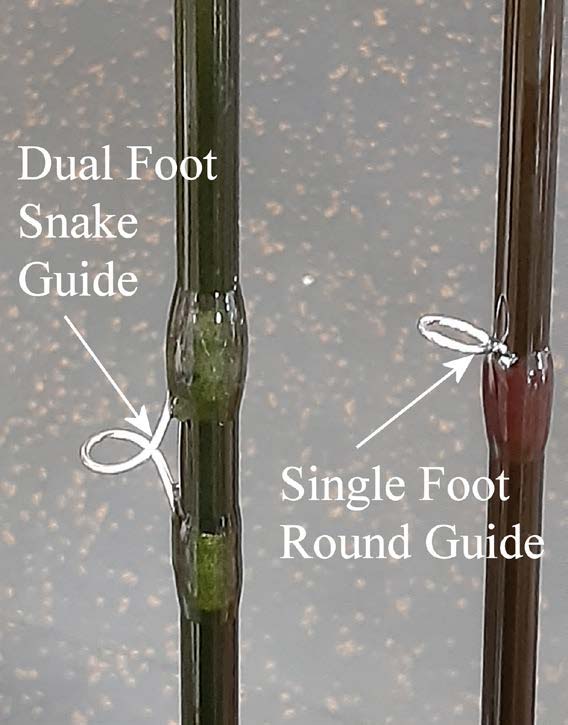
All of the guides (with the exception of the stripping guide at the bottom and the tip-top guide) are usually the same style. There was a time when all guides were nothing but snake guides. Nowadays, they can still be snake guides, or they can be standard round eyelet- type guides.
It’s a personal choice; some people prefer one over the other, but I haven’t really noticed any difference. What I have noticed is that the round guides sometimes have only one foot where they are attached to the blank, and I find that they break easier.
Snake guides all have two feet, so are much sturdier. In addition, remember that a good quality rod will have as many guides as it does feet of length, excluding the tip- top guide. So, a nine-foot rod should have at least nine guides. Some lower-end manufacturers will try to save money by cutting back on the number of guides by one or even two. This means the rod has too much spacing between guides, which can adversely affect your casting because the line can slap against the blank. As you learn to cast, you’ll come to understand the importance of that not happening.
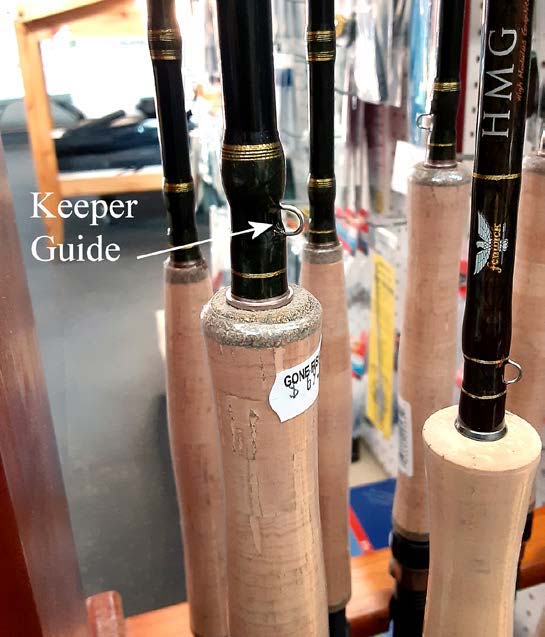
As we move down the rod from the guides to the handle, you’ll usually see that just above the handle is a tiny guide. This is the keeper guide. It’s a convenience made for hooking the fly onto in order to control your line and fly while you walk about or hike. Do not string your line through this guide; doing that will make it impossible to cast. (Yes, I’ve had students do that.)
The ferrule is the part of the rod blank where the butt and tip sections join. Usually, the butt section is the male end, and the tip section is the female, hollow end. The two slide together snugly but can be pulled apart when the rod needs to be broken down and put away.
The rod handle is found at the base of the butt section, just above the reel seat. Modern rod handles are made from either cork or foam. Now that I have mentioned foam, I suggest you never buy a rod with a foam handle. Foam handles retain water, wear out, and deteriorate with prolonged exposure to sunlight and chemicals, such as bug spray and sunscreen. Cork handles don’t.
 |
 |
Choose a Handle
Handles come in three styles or shapes: full wells, half wells, and cigar. Full and half wells handles are fluted at the top and/or bottom. These flutes or “wells” aid in preventing your hand from slipping off the handle. A full wells handle has wells at the top and bottom.
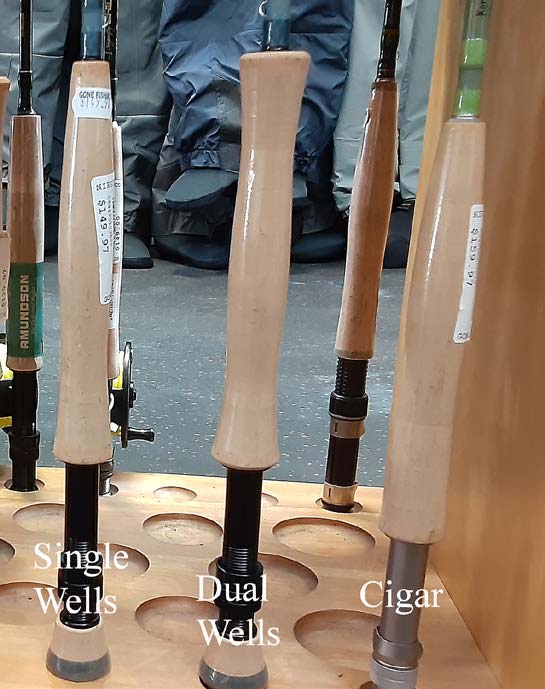
Generally speaking, the wells of a half wells handle is placed towards the reel seat to prevent your hand from sliding down to the reel when casting. No one handle is better than the other; it is really personal preference. I prefer a half wells, myself.
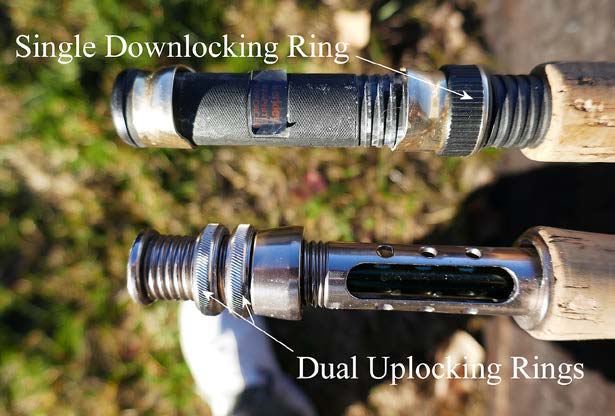
The reel seat is where you mount the reel. There are lots of variations when it comes to reel seats, but the main thing to keep in mind is the orientation of the locking rings. Seats can either have up-locking or down-locking rings. The up-locking ring seats have rings below the reel (towards the butt), and they screw up towards the reel foot. Down-locking seats have rings situated between the reel and the handle and the rings screw downwards toward the reel.
Up-locking ring reel seats are better than the down- locking seats, I believe, because with an up-locking seat, the reel is between your hand and the locking ring, thus can’t come in contact with your casting hand as you cast. For that reason, the ring won’t inadvertently loosen if your hand slips down towards the reel. It’s always a good idea to check that your reel is still tight throughout your day. Another point to note: dual locking rings are better than single rings. The first ring snugs down and locks the reel seat in place, while the second snugs up against the first and prevents the first ring from loosening.
Three Actions
As mentioned, rods come in three actions: slow, moderate, and fast. Slow action rods are “noodle.” They flex pretty much evenly throughout their length. Although slow- action rods can be fun to play a fish on, it can be difficult to land the fish because the rod has little bottom end, and they can be difficult to cast because of their slow, wispy action.
Fast-action rods are stiff and generally only flex easily at the tip. They are powerhouse rods and cast line with impunity but are not at all forgiving when playing a fish.
Moderate-action rods flex evenly over the top two- thirds of the length but then stiffen significantly along the bottom third. They are slower to respond than fast action rods, but they cast well if the caster has a little patience, plus they are a pleasure to play a fish on. Beginners should buy a moderate-action rod to start with, because they are easy to learn on, and they are the most adaptable to various fish and fishing situations.
Watch for Top Heavy
It’s important to remember this: some poorly designed rods can be top-heavy. When held by the handle parallel to the ground, you can feel the weight pulling your wrist down.
Avoid these rods like the plague! They are horrible contraptions that can cause you great grief when trying to cast them, and they can possibly lead to tendonitis in your forearm. Optimally, with the reel attached, the point of balance should be just at the base of your casting hand or slightly behind that. When the fly line is strung and you are casting, the point of balance is pretty much in your casting hand. The rod should never pull your hand or wrist forward when you cast. If you are unsure about what this feels like, take a friend along who casts. They should be able to tell you if any given rod is top-heavy.
How Much Power?
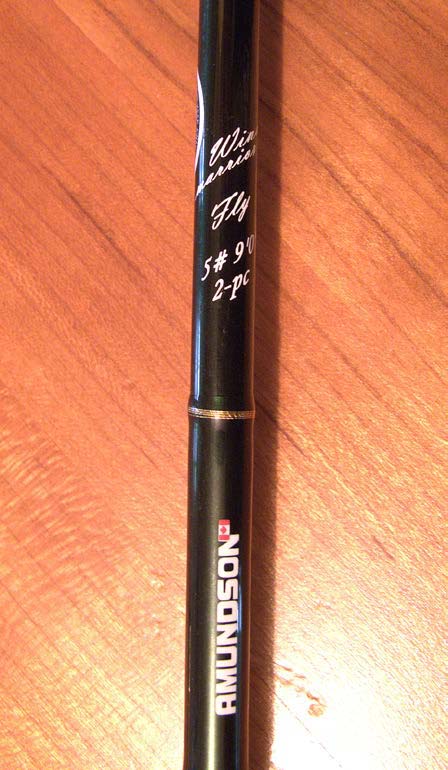
Beginners often puzzle over how much power they need to fish for the types of fish they want to catch. Rods are designated by “line weight.” This is not how heavy the rod is, though. A rod’s weight designation is directly related to power in the rod, but it’s actually related more to the fly line weight it is designed to use.
Fly-fishing lines are assigned a weight designation. This weight designation is determined by the weight of the front 30 feet of the fly line. Fly line weights range from a 1 weight to a 15 weight. Fly rods are designated to match the line they work best with, so the line and rod weight should match, and both should be fitted to the size of fish you want to catch. Average trout rods are in the 4 to 6 weight range. Salmon rods are 6 to 9 weight, and for the bigger saltwater game fish, the 9 to 15 weight range. Beginner trout fly-fishers, and those who can’t afford more than one rod, should invest in the best 6-weight rod they can afford (assuming trout is your main target species).
If you are just starting out, or even if you already fly fish but are in the market for a new rod, keep these basics in mind when shopping. You’ll come away with a rod much more suited to your needs and preferences.
Per our affiliate disclosure, we may earn revenue from the products available on this page. To learn more about how we test gear, click here.


